Editing Tickets from the Homepage
There are several areas within a ticket where information can be accessed, added, edited or deleted. This section will review those most used on a regular basis.
Ticket Number Area
The ticket number is on the left of the top bar of the ticket. You can use the arrows around the number to page through tickets. Following the ticket number is the Ticket Log Source, edit pencil, push pin to Pin a ticket to your dock; Flag (if active) and the Action Note Filter. On the right side are the Star and Share buttons, Move or Merge selected actions to another ticket and the print button.

- Ticket Log Source - Notes how the ticket was logged.
- Edit pencil - For editing the Ticket Description area.
- Push Pin - Notes if the ticket has been pinned in user's Revelation dock.
- Flag - If highlighted, there is a flag with useful information regarding the Client, End User, Location and/or Project.
- Ticket Filter - Provides options to filter the Action Notes.
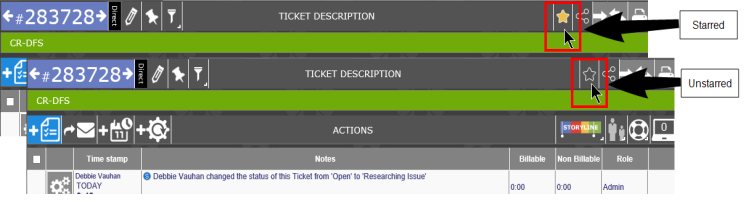
- Starred Ticket- Allows users to highlight certain tickets they want to keep 'top of mind'. While the user can sort/view by the starred tickets, it is only for the user. This feature is set in the Admin area under Permissions.
- Share - Allows users to share the ticket with other, internal users.
- Move - Select Action Notes and move them to another existing ticket.
- Merge - Move selected actions to a new ticket.
- Print - Print to your default printer, or select another printer in your network
Starred Tickets
To star a ticket, simply click on the star icon in the header. The star is only visible to the person who activated it, but you can search Revelation for Starred tickets, and filter by the star on the Home Page.
Realtime Ticket Visibility
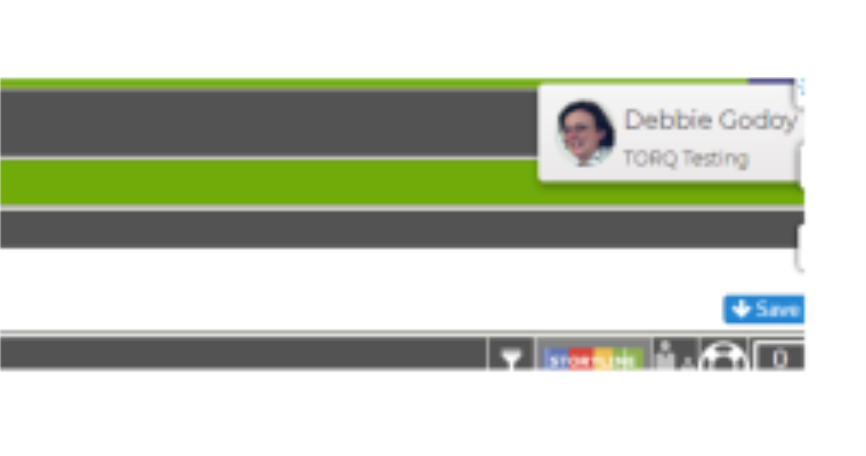
When you are in a ticket that is currently being viewed by another staff member, a box will appear with at the top right of the open ticket;
indicating which staff member is also viewing the ticket currently.
If you roll over the user's initials in the bar, you will be able to see the user's name;
and if active, their profile picture.

Client information
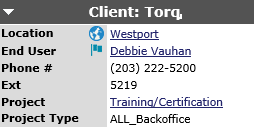 This section appears on the top left of a ticket. It shows the following:
- Client Name
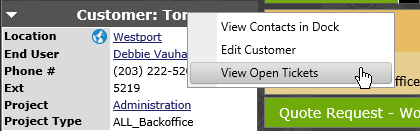
- By right clicking on the client name, you will see three options:
- View Contacts in Dock - see all the contacts for this client in the Contact dock on the right side of the screen.
- Edit Customer - goes to the customer info page in the Admin area. You will only be able to edit an area here if you have the permissions within Revelation helpdesk.
- View Open Tickets - shows all open tickets for the client in a Search page
- By right clicking on the client name, you will see three options:
- Client Office
- Click on the globe icon to get a map view of the office location
- End User
- Clicking on the envelope by the Contact's name will create an email to the Contact, and include the information within the Revelation ticket. If the Email Parser is active in Revelation, the Contact's response will be added as an action note to the ticket.
- Click on the User's name and you will be taken to the End User Information page for that user.
- If Contacts is active, the End User's contact information will be displayed on the right side of the screen.
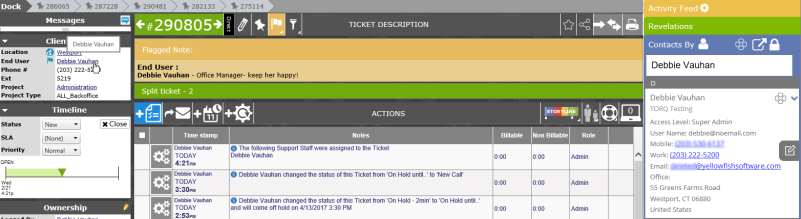
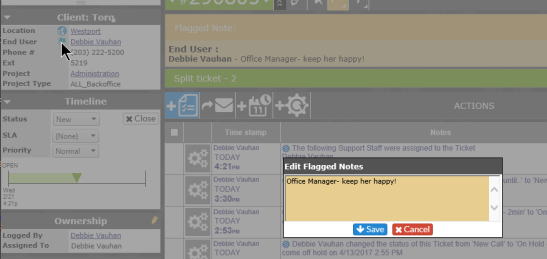
- If the Edit Flagged Notes icon is visible, and permissions are set, the End User Flag Notes can be added to or edited as needed.
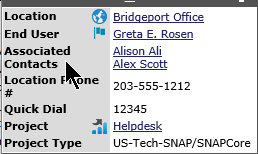
- Associated Contacts
- If active in the Admin area, additional contacts may be on the ticket. They will be listed under the main End User for the ticket. All of the options for the End User will also be available for the End Users. Associated Contacts will be CC'd on any emails sent to the main end User
- User's phone number
- User's extension (if available)
- Project name for the client
- Project type
NOTE: If the User's phone number is not available in Revelation, the main office number will be shown.
Time information
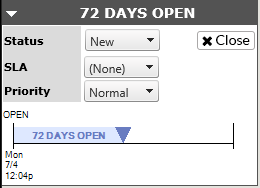
Shows how long the ticket has been open, the Status and if an SLA and Priority has been assigned to the ticket. If no SLA is associated, the timeline view will show when the ticket was open, and how many days it has been open. The option to Close the ticket is located here - click on the Close button to close the ticket.
Ownership
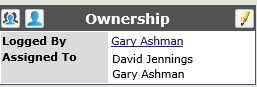 Owners are the staff assigned to the ticket. This could be a queue, one person or multiple people.
Clicking on the pencil will allow for editing the owner(s) of the ticket.
By clicking on the button with multiple images, you will be added to the existing Owners
Clicking on the Own ticket (one silhouette), will remove others and make you the sole owner of the ticket.
Time Logged
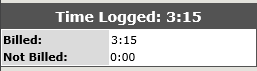
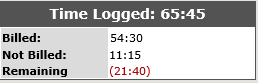
This section will show you the time used within the ticket. If the ticket has a fixed amount of time set against the project, and the project is over, that time will be shown in red. Non-billable time, if enabled in the Admin area, will be displayed as well.
|
Time Used |
Time Used-Client Over |
|
|
|
Parent/Child Time Logged
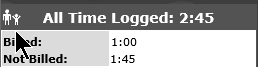
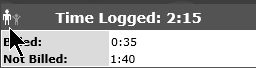
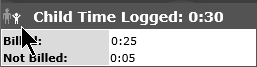
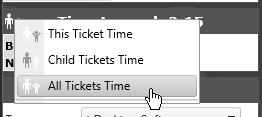
The Time Logged section when the ticket is a Parent or Child will look similar, but you will be able to toggle between the time logged against the Parent ticket, the Child tickets or the total time on all the tickets.
|
Parent Ticket Time |
Child Ticket Time |
Combined Ticket Time |
|
|
|
|
Simply click on the Parent-Child icon, or right click for a drop down contextual menu.
Timeline 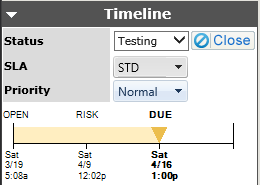
The Timeline is located just under the Owners section. It will show when the ticket was opened at the beginning of the timeline. If Service Level Agreements are activated for the project, it will also show the Respond by and Resolve by dates. It will show the Service Level assigned to the ticket as well. The Next At Risk date/time will show when the ticket will change from Good to At Risk. Below that is Next Due, which is the next time point at which something is due by.
If the Multiple SLA option is active, you will be able to choose from a drop down of active SLAs for the project. If this is not active, the default SLA will be shown.
NOTE: The Resolve Date is static and calculated based on the SLA's set up within the system, and cannot be changed. The Next Due date is dynamic and is updated as the ticket is worked on. Once a ticket is “responded to” i.e. an action is logged, then the Due Date is updated (by the system) to the Resolve By Date (next milestone). The Due Date can also be manually changed by a tech.
Ticket Types 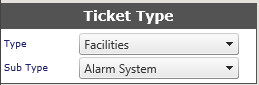
Ticket types and sub types are used to classify tickets into types of service you provide for your clients. This information is helpful for your clients to understand what types of issues you are resolving for them. Revelation allows for up to four options, with one Ticket Type and up to three sub types. The example shown here has only the Ticket Type and one Sub Type active.
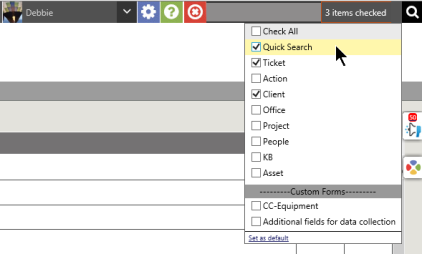
Quick Search
Quick Search, at the top of the page, provides a quick access to ticket information by selecting a specific client or by indicating a ticket number.
Link Out
Link out provides quick links to various Internet sites. To add a link: click on the pencil icon, type in the URL and display name and click on save when done.
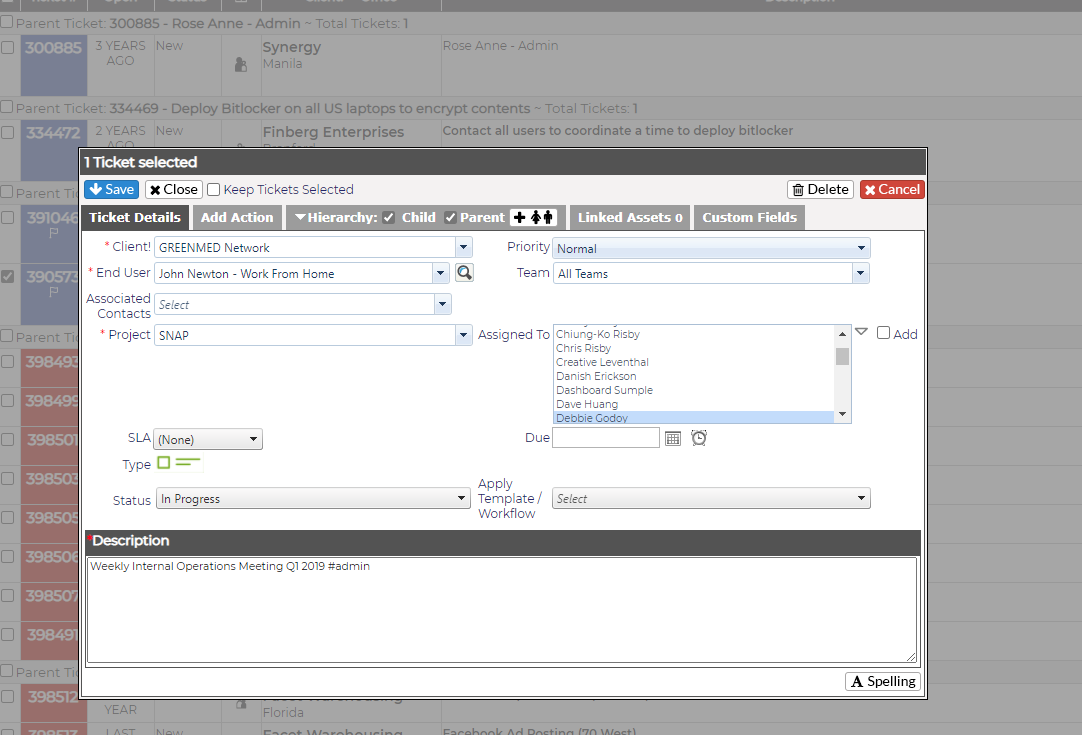
Editing Tickets (from the Homepage)
In lieu of opening a ticket to make edits, you now have the ability to edit a ticket directly from the Homepage.
By right clicking on a ticket, a drop down will appear where you can select to edit the ticket.
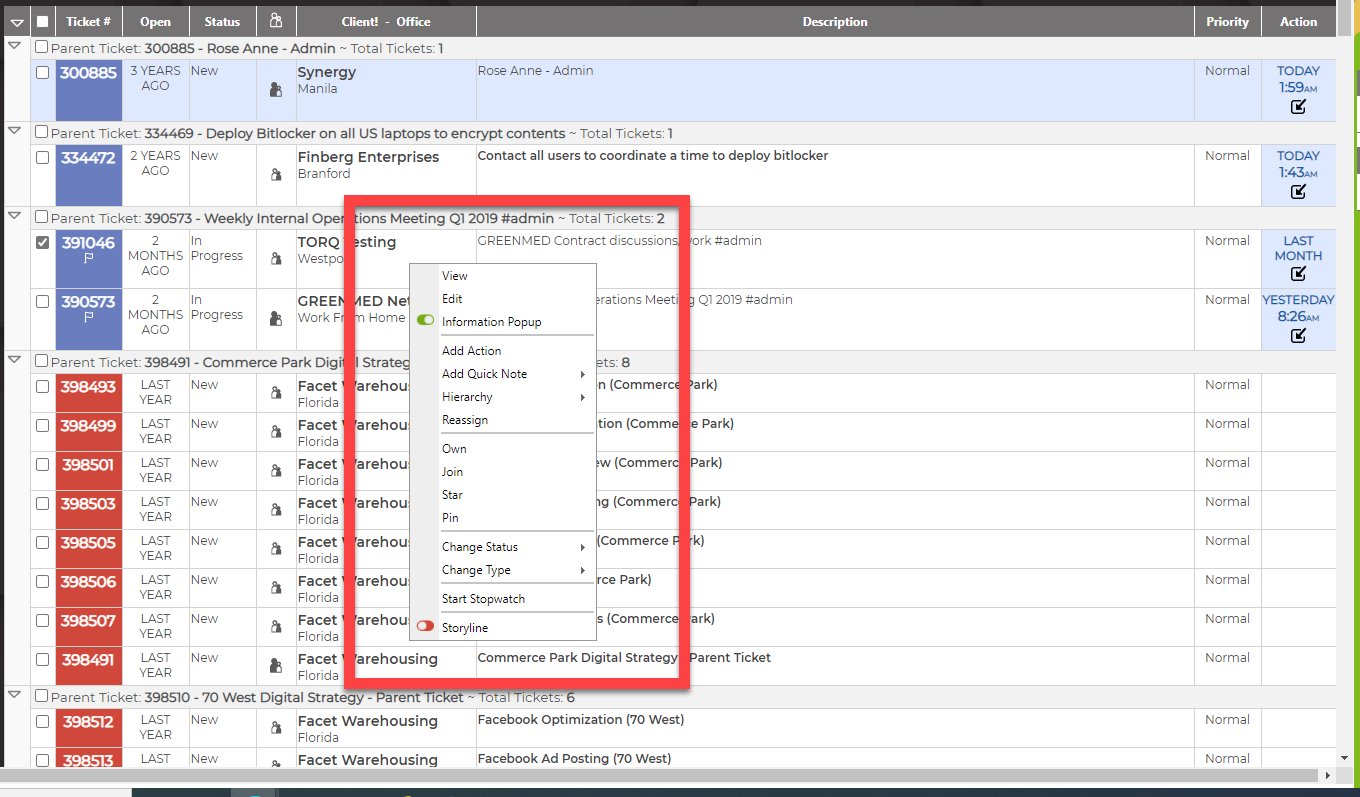
Select Edit - which will direct you to the next screen where edits can be made to the ticket. Click Save once you have completed any Edits needed.