From the Support Staff tab, you will see, by default, a listing of your active staff. To view all staff, both active and inactive, unmark the Active only checkbox.
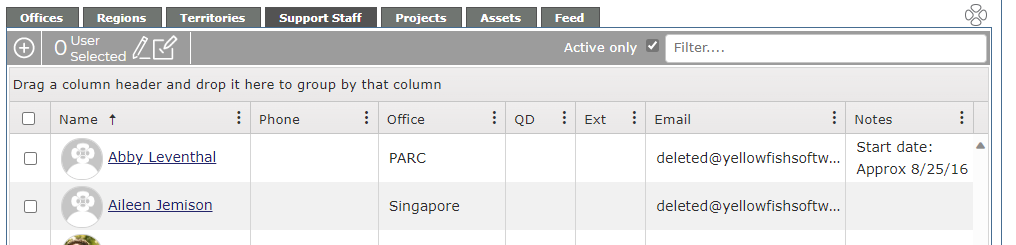
You can add new staff by clicking on the + button underneath the Administration tabs. New staff can also be added with the Add Users button in the Quick Tools box to the right of the Your Details field.
Add New User
Adding a new internal user is the same as adding a new external user with additional information.
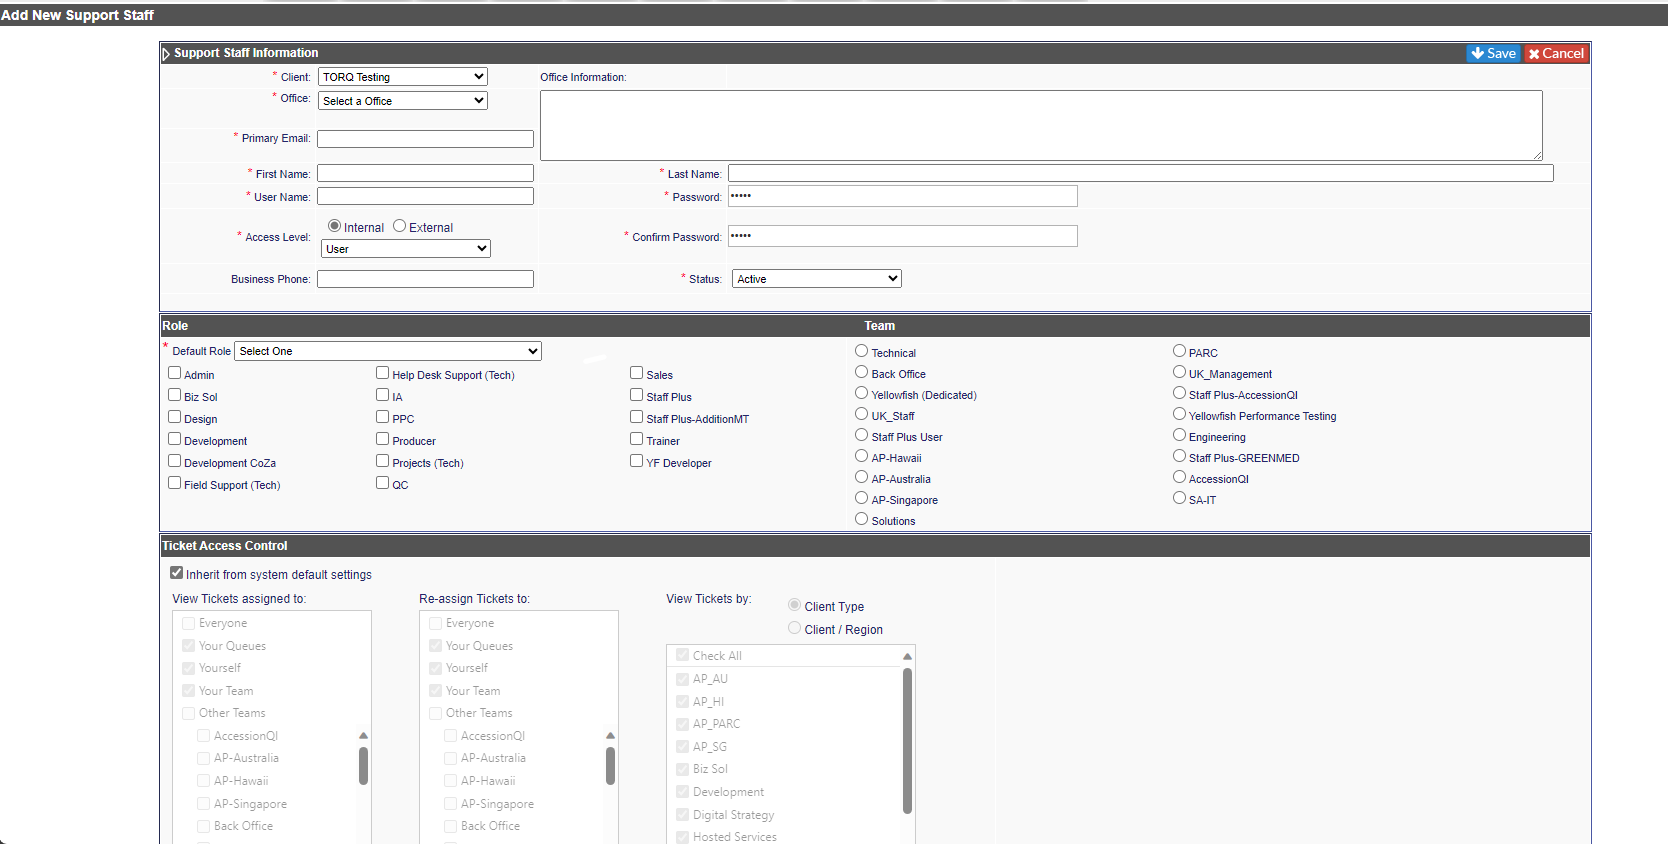
The Personnel information starts with the following:
*Client: This will default to your company name
*Office: Select from the pull-down menu
*Primary email: The user's email address
Office Information: This field will populate with the main address associated with the Office.
*User Name: This field will auto-populate based on the primary email address.
*Password: The default is set in System Options-Login. The user is asked to change it the first time they log into the Revelation system. The only thing visible in this field is , no matter the length of the password.
-
The default password is set at revelation1. The default can be changed in System Options-Login.
*Confirm Password: Same as Password.
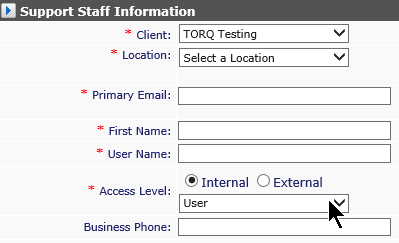
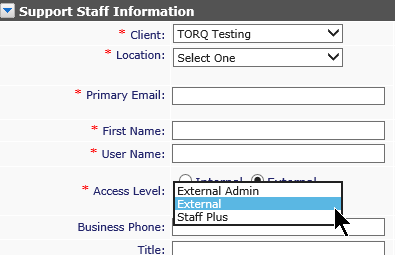
*Access level: Select Internal and choose from User, Manager, Administrator, Report Builder Manager, or Super Admin. The default level is User. If the staff member is to be tied to a client site, you can also choose to set them as an External User, and select from External Admin, External or Staff Plus.
| Internal Access Level Option | External Access Level Option |
|
|
Business Phone: The user’s business phone will appear in the ticket details if provided.
*Status: Default is Active. User can be turned Inactive if they leave the company.
By hitting the down arrow at the top of the screen, the page will expand and additional information can be added. It is not required, but helpful and can be added at another time. Other fields are included such as Title, Extension, etc. but are not required.
Notes: For any information you might want to add, which will not be visible from within the ticket. This information will only be visible from the Admin Area by those with permission to access.
Flagged Notes: For any information you might want to include about the person. These notes will be visible to your staff. If Flag these notes on Log a Ticket is checked, the notes in this box will appear when new tickets are logged against the contact.
Flag Notes: Flag these notes on log a Ticket: If this box is checked, the text in the Notes box will be visible in the Log a Ticket screen when a ticket is logged against the client contact. If you don't want the notes to show during Log a Ticket, uncheck this box. A pop up can be enabled or disabled in Ticket Configuration. The Flagged Notes can also be edited by clicking on the flag icon next to the End User's name in a ticket. (Permission required.)
In addition, these options can be edited by the end user at a later date by clicking on their name on their Home Page. They will be taken to their User Information page where they can edit these options based on their access level.
Alternate Email
Add email addresses for the user, including their Facebook and Google+ email information.
Select the roles a user can bill time against. Once roles have been selected, a default role must be assigned.
Select the Team to which the user belongs.
If the user has restrictions set by an Administrator, they will be visible here. If the Ticket Access Control is set to Open System, you will only see the header on this page.
Legacy features
Add in additional contact options for the user.
Once the user has been saved into Revelation, the items on the left side of the Support Staff window will appear as follows:
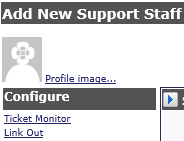
Profile Image
If active in Admin, this allows the user to add a profile image. This image will be visible in the Action Notes and on the Message Feed, if active.
Add a Profile Image
NOTE: You will not be able to add the image until the user information is completed.
To add an image:
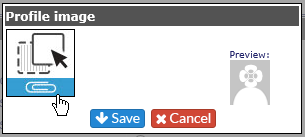
- Drag and drop an image, or click on the paper clip icon to select an image from your computer or network
- Size the image by holding down your left mouse key
- Click on Save
Allows the user to select groups or specific users to monitor tickets for on their home page.
Allows additional links to be configured for the individual user if all the links are not required by the Host Company.
NOTE: Link out only supports http://, https:// and ftp://
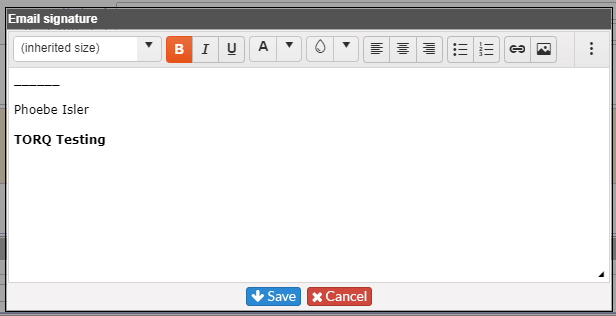
If you have a standardized email signature requirement for your company, it can be added so any email sent via an Action Note will include your signature.
Simply click on link on the left side of the screen. Put in your signature, adjusting the font and size as needed, and hit Save. The signature will be included in any email sent from an Action Note in Revelation.
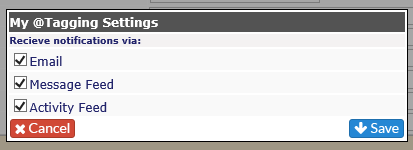
My @Tagging Settings
Select the notifications to receive when someone uses an @tag for the user in a ticket.
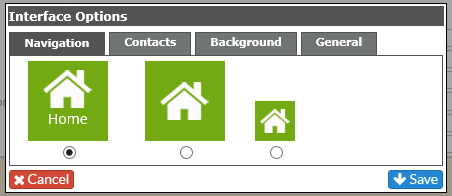
Interface Options
Personalize your local settings including the Navigation tab, Contacts Bar, Background, Date format, etc.
Quick Searches
Once the information is completed for the staff member, you will be able to run searches for the items below. By right-clicking on the link, you can open the search results in a new tab or window.
View Open Tickets
- View all open tickets where the staff member is the End User. This includes any tickets Open, On Hold or set to Auto-Close.
View All Tickets
- View all tickets, open or closed, where the staff member is the End User.
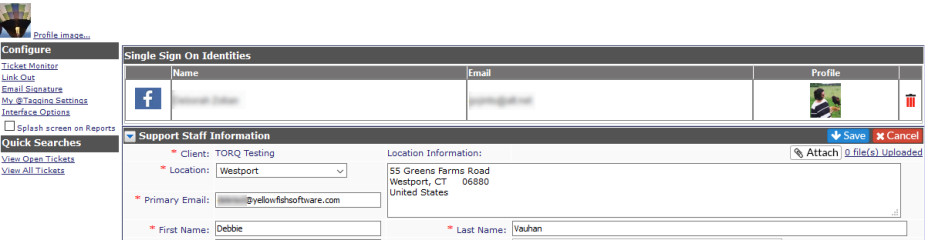
Single Sign On Identities
If your users are set up with Single Sign on, the associated name and email addresses will show at the top of their information page. The information can be deleted by clicking on the red trash icon. This will remove their SSO for that particular option.