
In the Branding area, you can set two things - Your Logo and the Backgrounds for Revelation.
Your Logo
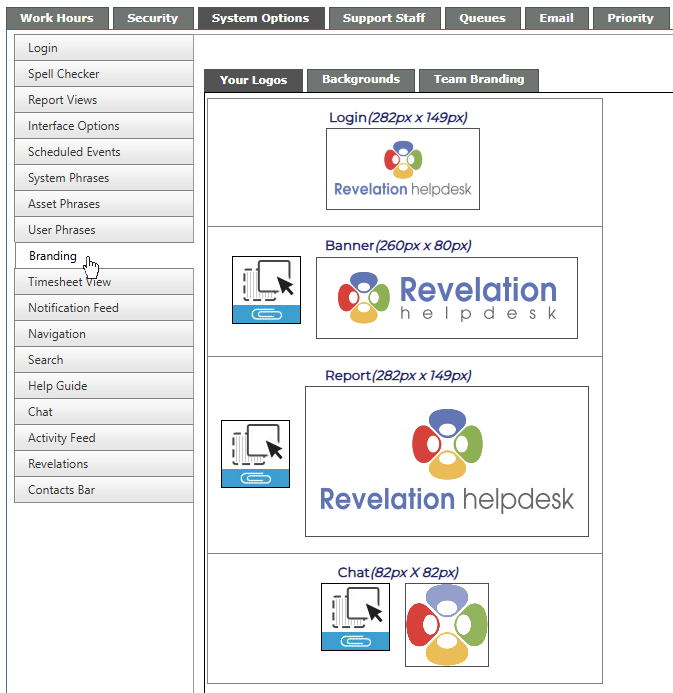
Three graphics can be set for use in Revelation. These will appear primarily to your Staff, however if you do not set specific graphics for the Self Service Branding option (if purchased), these will also appear in the Self-Service Interface.
|
Item |
Description |
|
Login |
Displays the logo on the Revelation Login Page. Click Set, browse to the location, select the file and save. |
|
Banner |
Will appear in the top left corner, opposite the Nav Bar. This will appear to your End Users by default unless you set a specific graphic for them. Click Set, browse to the location, select the file and save. |
|
Report |
Appears on the End Users Viewable Reports. Click Set, browse to the location, select the file and save. |
Click on the pencil icon for the image you wish to add or edit. Image size limitations are shown on the screen.
Backgrounds
You are able to set the color for the navigation buttons at the top of the page.
Backgrounds are set for the login page and internal backgrounds. You can select a variety of themes for the Login, as well as the Internal backgrounds. To set the Self-Service Interface branding, click the link at the bottom of the screen.
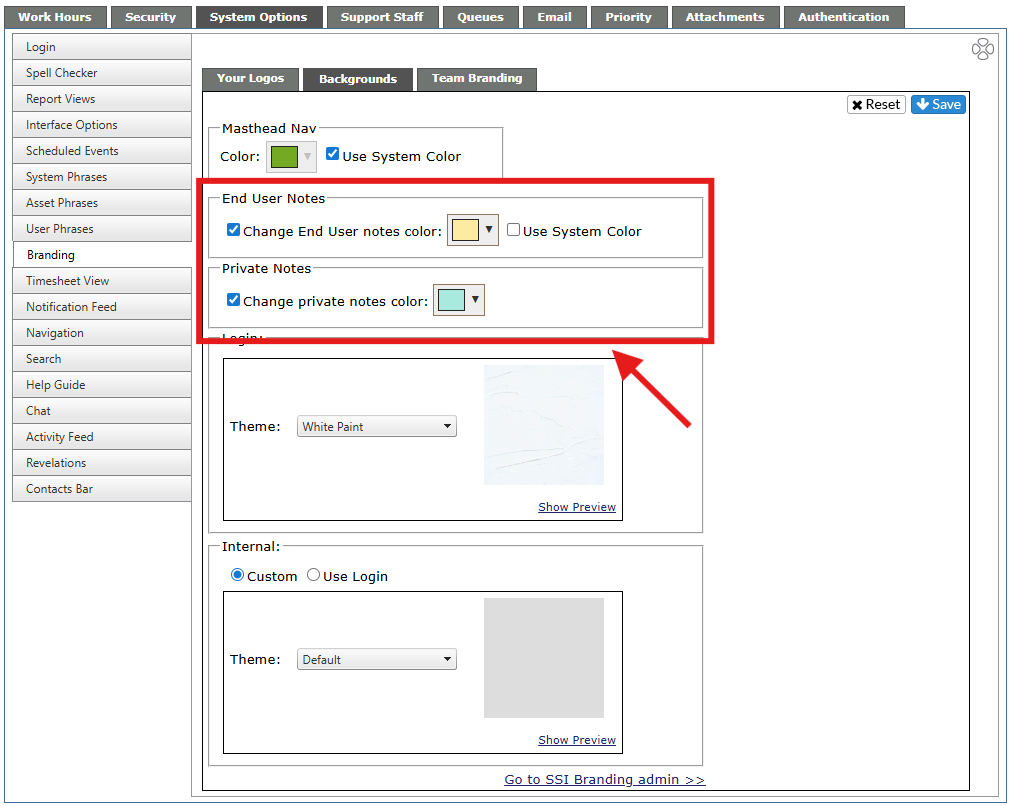
The End User Notes area will change the color of any Action Notes added by an End User to a ticket.
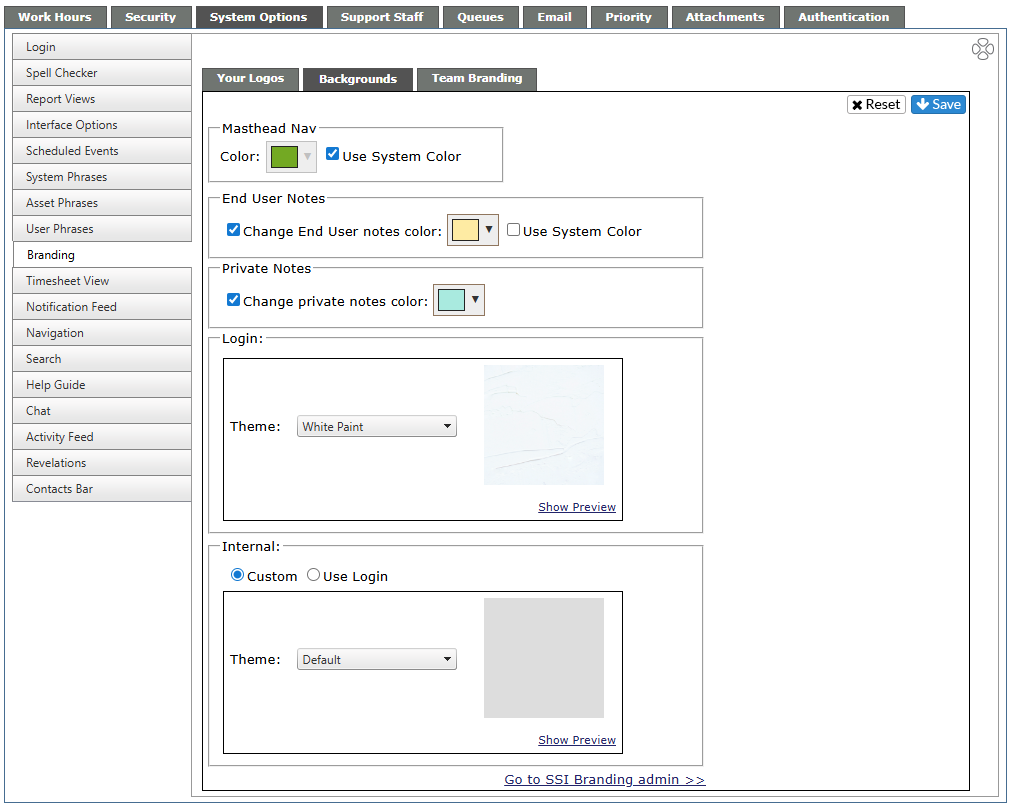
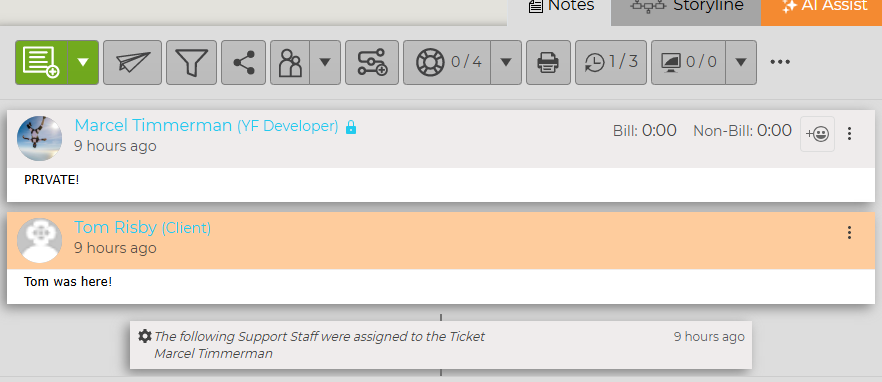
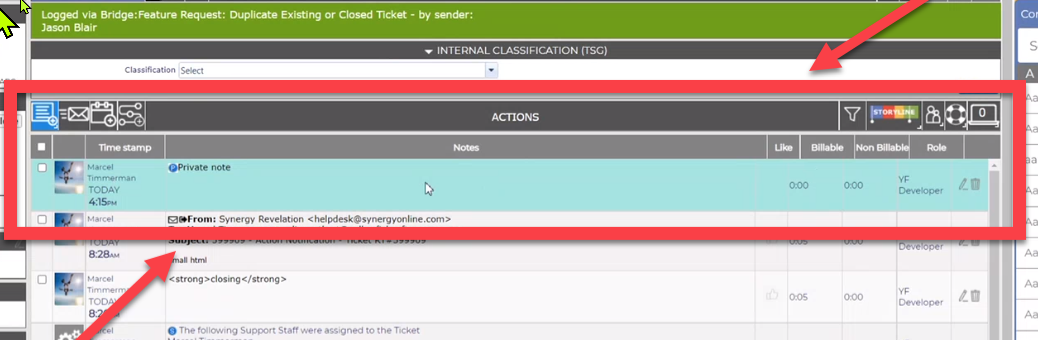
You may also customize the color of your private action notes within the system by selecting "Change private notes color" and selecting the color.
Team Branding
Set the Masthead, Report header, even the Nav color by team.
|
Item |
Description |
|
Banner |
Will appear in the top left corner, opposite the Nav Bar. This will appear to your End Users by default unless you set a specific graphic for them. Click Set, browse to the location, select the file and save. |
|
Report |
Appears on the End Users Viewable Reports. Click Set, browse to the location, select the file and save. |
| Nav Color | Buttons for the Nav at the top of the screen can match your team's color. Or set by the System color. |
Select the team from the drop-down box, then drag and drop an image into the appropriate area or click on the insert image icon to select from a file. Once you select the image you want, click the blue Save button on the right to retain.
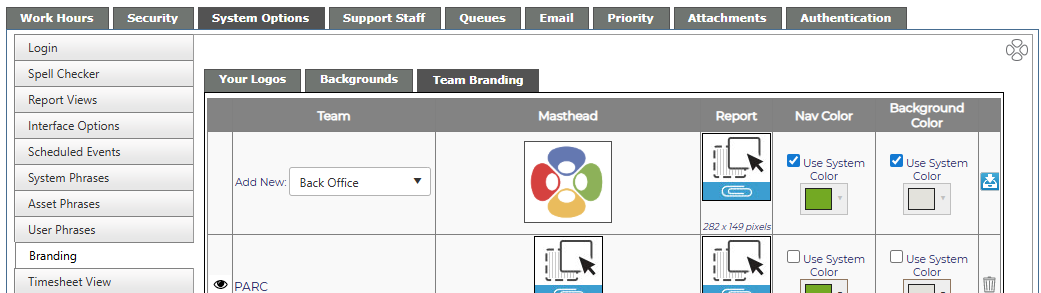
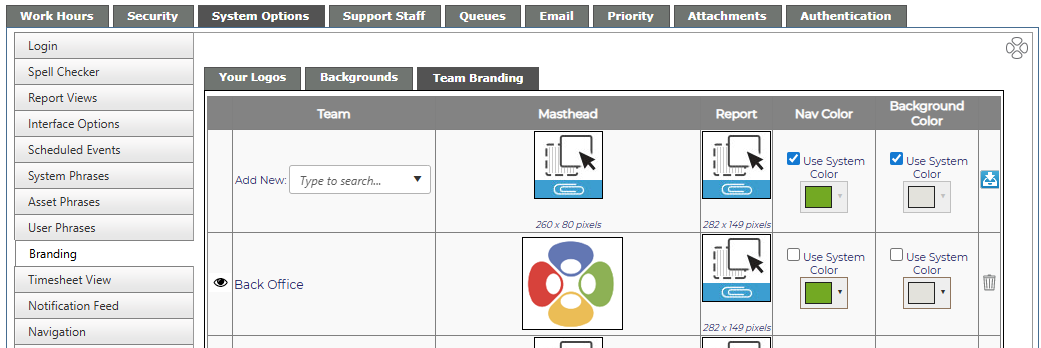
Once saved, it will appear in a list. When adding another new logo, the team already set will not appear in the drop down.
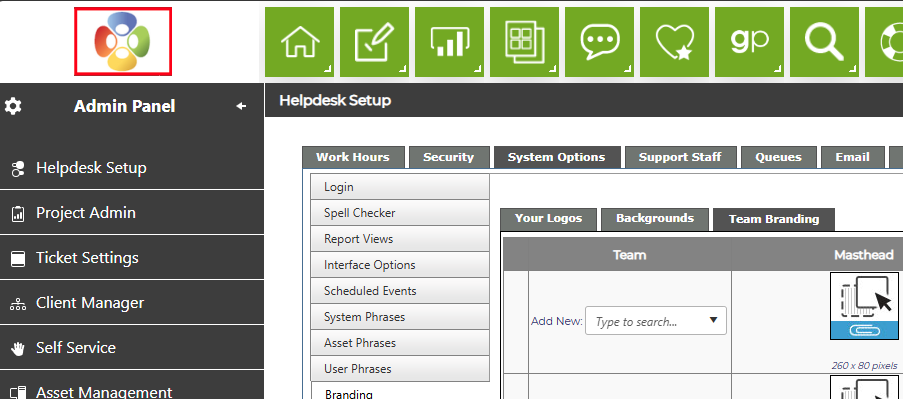
When Revelation helpdesk refreshes, the new image will appear in the area selected for the selected team.
To delete the selections, click on the garbage can icon. 