
NOTE: If you are using Office 365, the functionality is the same as in Outlook. The link to create the ticket is slightly different, and is shown here.
Using the Revelation Bridge is simple.
- Select the appropriate email from Outlook.
- Open the email
- In Outlook
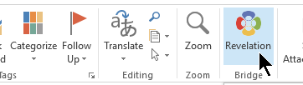
- From the upper right corner, select the Revelation logo. The Revelation Bridge will open on the right side of the email.
- In Office 365
- There will be a small Revelation icon above the email text

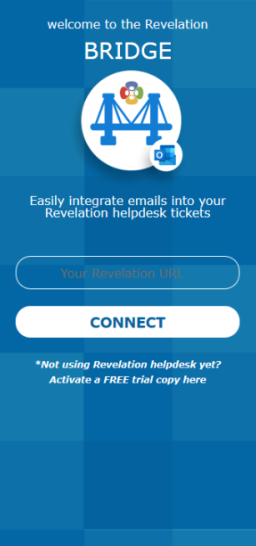
- If you have not logged in already - Enter your Revelation helpdesk URL:
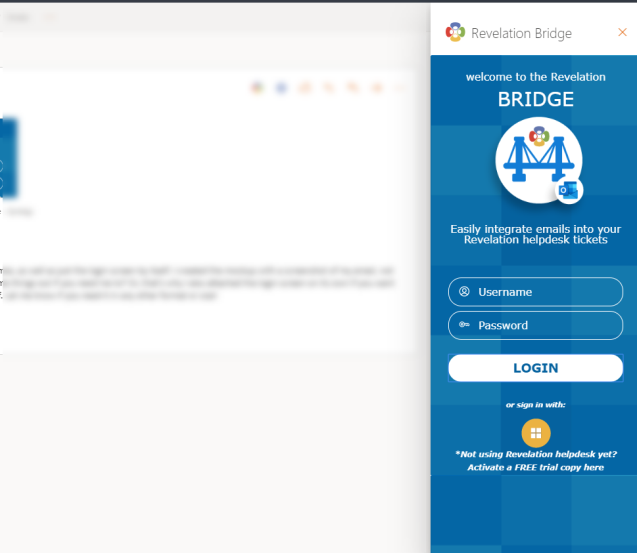
- You will then need to log in to your Revelation helpdesk instance:
If you are set up for single sign on using Microsoft Azure, click on the Microsoft logo to sign in.
Working with Tickets
The Bridge will try to match the sender of the email to a known End User in Revelation. If no user is found, it will log it to your company and to you by default.
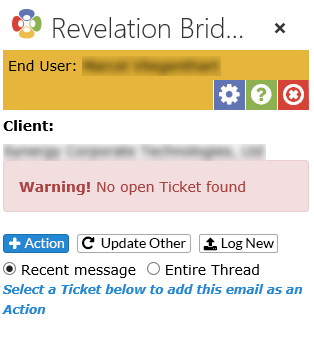
There are three options once the system matches the name:
- Add Action will add the email to an existing ticket for that End User.
- Update Other allows the CONTENT of the email for a ticket, but assign it to a different End User.
- Log New will log a new ticket for the End User, based on the email.
Add Action To Existing Ticket
By clicking on the Add Action button, the Bridge will list all of the active tickets for the End User.
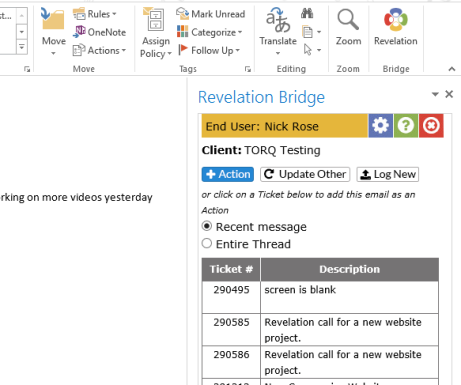
- If you click on the ticket number, the text will be added to that ticket.
- You can select to put in only the current (Recent) message, or the entire email thread.
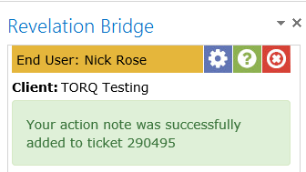
- When you select the ticket, you receive a notice the action note was added.
Update Other Ticket
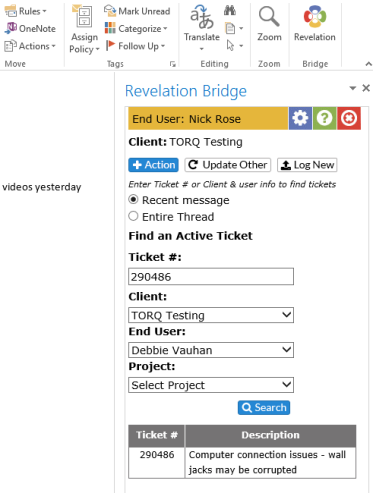
If the information needs to be put in a ticket other than the ones shown on the list when you click Add Action, select Update Other. From here, if you have an active ticket number, it can be entered. If it is just the Client and/or End User which need to be changed, this can be done from the drop downs.
Click on Search and the options will come up. Select the ticket to add the email.
Log A New Ticket
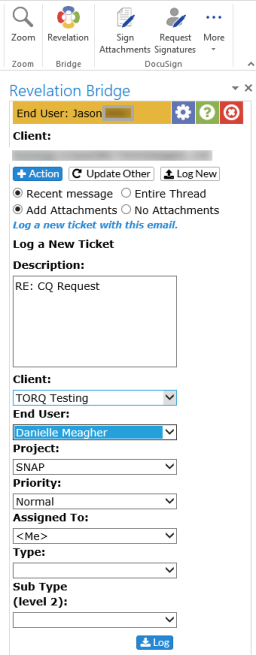
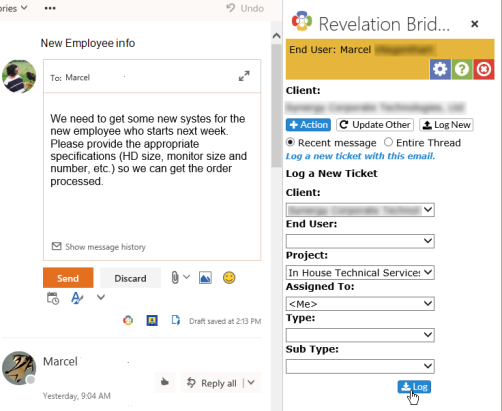
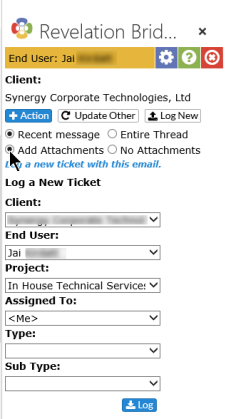
If the email warrants a new ticket being logged, simply click on the Log New button. You will be asked for information similar to logging a new ticket within Revelation helpdesk, including the Client name, End User, Project, Priority, Assigned to. You can also add the Ticket Types and Sub Types from here if needed.
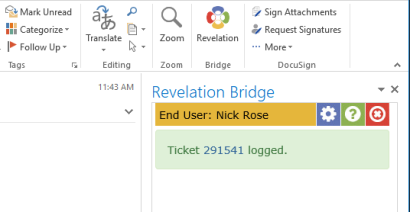
Once the items are filled in, simply click on the Log button at the bottom of the screen. If needed, the Description field can be edited before logging the ticket. You will get a confirmation with the new ticket number.
|
|
Composing A New Email
If, when you're sending your client an email, it should be either logged as a new ticket or added to an existing ticket, use the Revelation Bridge for Outlook to do both.
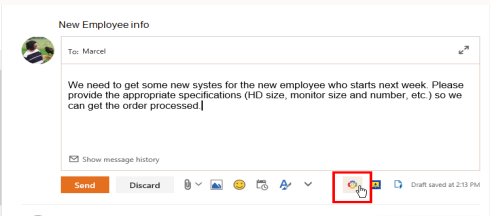
- Compose your email
- Before hitting send, click on the Revelation Bridge logo and select the appropriate option (Add action, Update Other, Log a New Ticket)
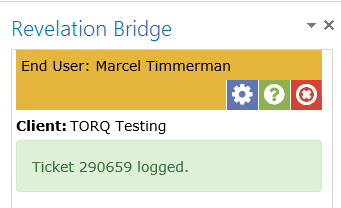
- Once you have the ticket number confirmation, hit send on your email.
| Write your email and click on the Revelation Bridge button. |
|
| Add the information as needed in the form. |
|
| Receive ticket number confirmation |
|
| Ticket logged in Revelation helpdesk |

|
Attachments
If your email has attachments, you will have the option to add them to the ticket or leave them off. If you don't want the attachments to be added to the ticket, click the No Attachments radio button. If you want them to attach, make sure Add Attachments is selected.
NOTE: If Attachments are not allowed in your copy of Revelation, this option will not be available.