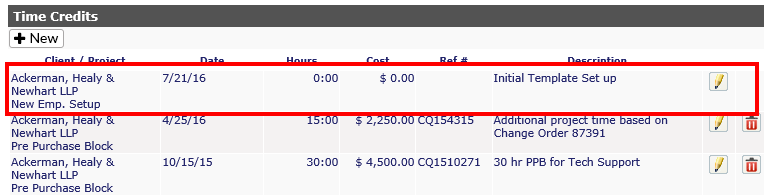
From this first tab, you can search, add, edit or delete credits for a client.

Add new credit
-
Select the client from the pull down menu and click Display.
-
Click on the Display button
-
Click on the +New button under the Time Credits banner
-
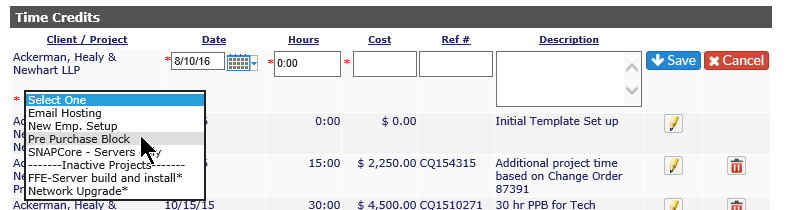
Select the project from the drop down under the Client/Project header
-
-
You can filter the results by selecting Project or Project Type from the top and clicking on Display again.
-
-
Type in the date (or select a date from the calendar)
-
Add in the hours, cost, reference # (invoice or quote number) and description (initial time purchase, additional web work, network install project, etc.)
-
Click on the Save icon to keep the information or the Cancel icon to discard.
Edit a credit
-
Select the client from the pull down menu and click Display
-
Select the project for the client
-
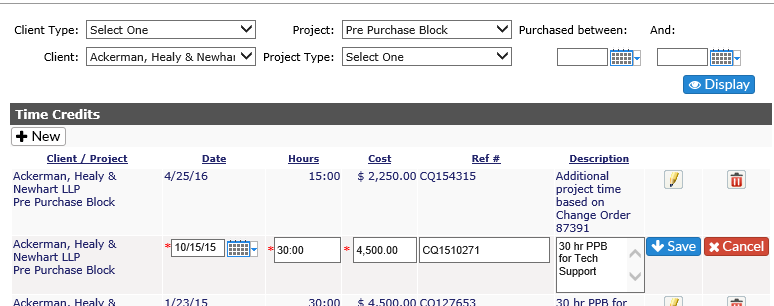
Click the pencil icon to the right of the line item. You will be able to make changes to the Date, Hours, Cost, Ref #, and Description.
-
Click on the Save icon to keep the information or the Cancel icon to discard.
Delete a credit
-
Select the client from the pull down menu and click Display
-
Select the project for the client
-
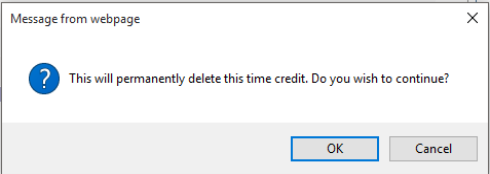
Click the red x to the right of the line item. You will get the following warning:
-
Click on OK to delete the credit, or Cancel to go back to the page.
PLEASE NOTE: The delete button is not available for the initial time purchase added within a project.