Creating Clients
Creating a client is the first step to accessing the Revelation helpdesk API.
- From the API integration dashboard click 'Manage' under Clients. Then click "+Add Client"
- Under settings, enter the following:
- ClientId: “client-one”
- Client Name: "My First API Client application"
- You can also choose a client type which represents the type of application you will use to access the API. For the purposes of this example, we will choose Machine / Robot (Client Credentials flow)
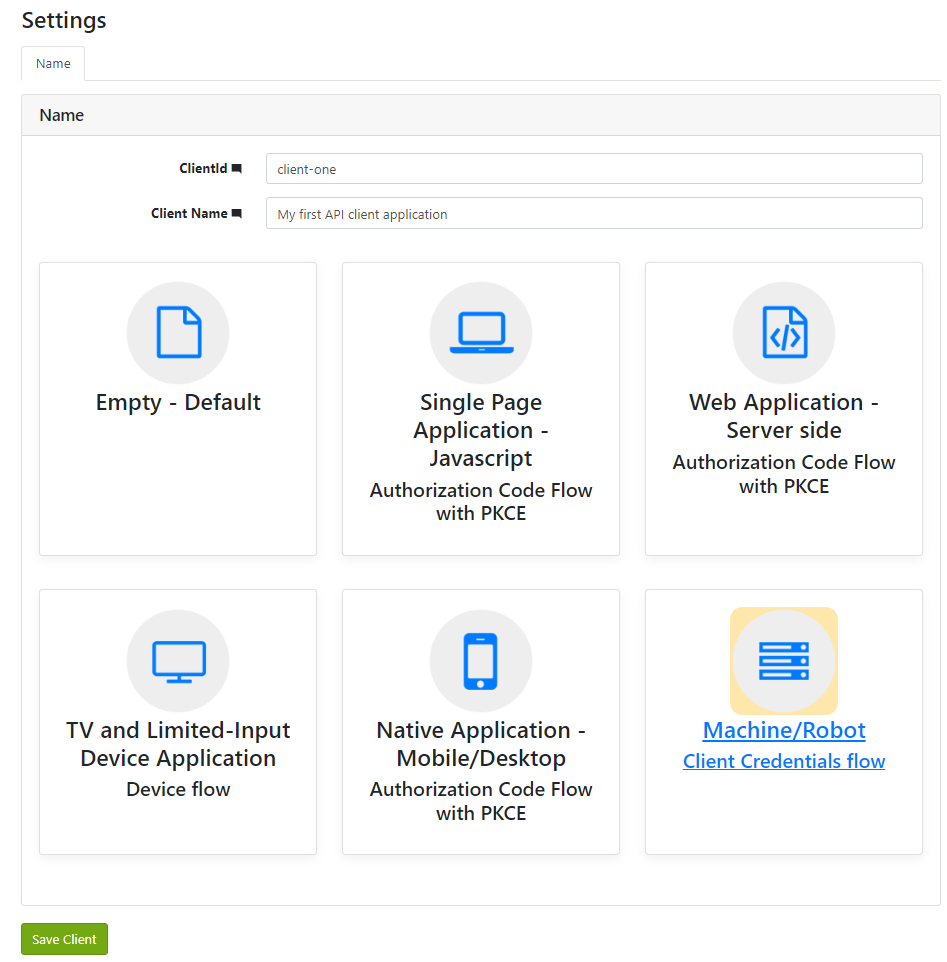
- Click "Save Client" to save and return to the client settings screen.
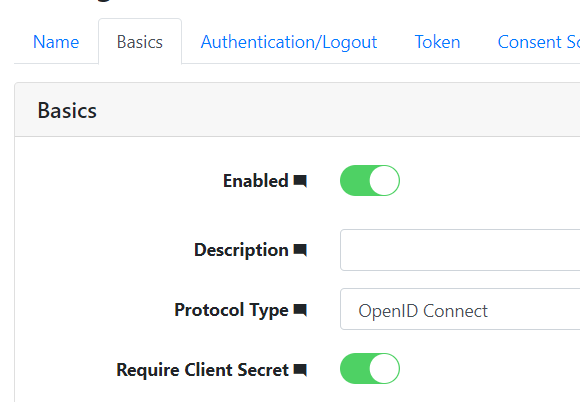
- Under the "Basics" tab ensure that "Require Client Secret" is enabled.
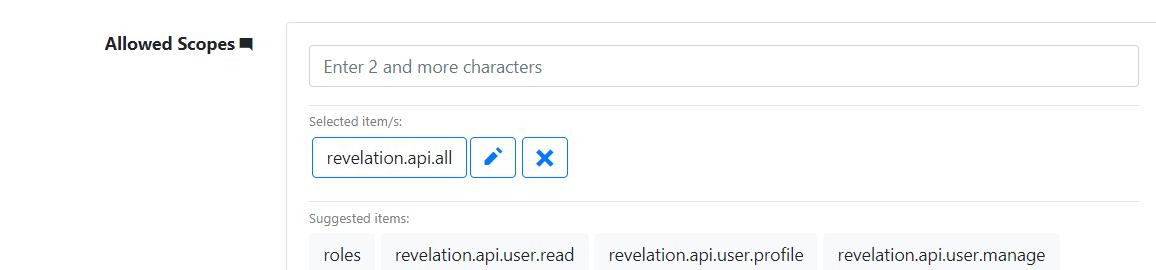
- Ensure that you select at least one “Allowed Scopes”. We will choose revelation.api.all for this example and you can read more about scopes in the section below. Make sure you click “Save Client” to save your changes.
- Scroll down and select the "Manage Client Secrets" button.

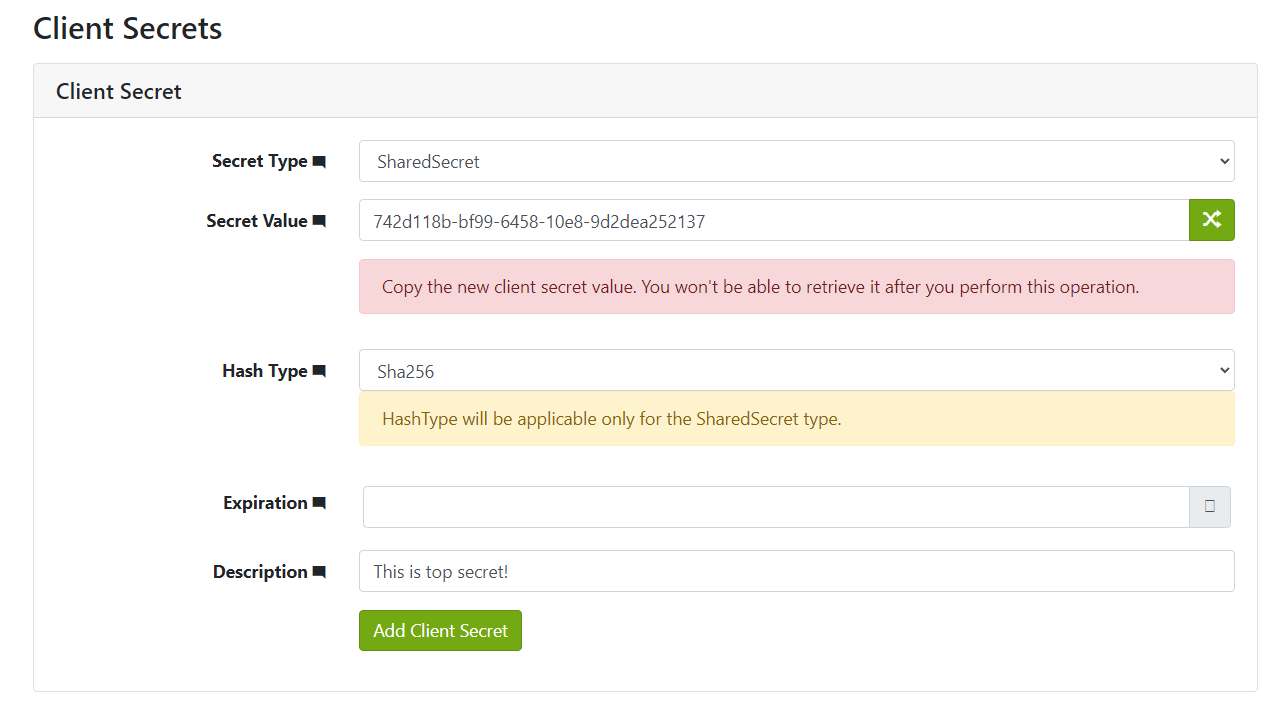
- On the Client Secrets page generate a new secret or enter a custom secret value and give it a description and expiration date (optional). Click "Add Client Secret" to save the changes.