
Edit Single Slice
From any chart, you can click on the Configure button on the top right to edit that particular Slice. The small box in the lower right will pop the single slice out to a larger view.(You will not have the option to Configure the slice from the larger view.)
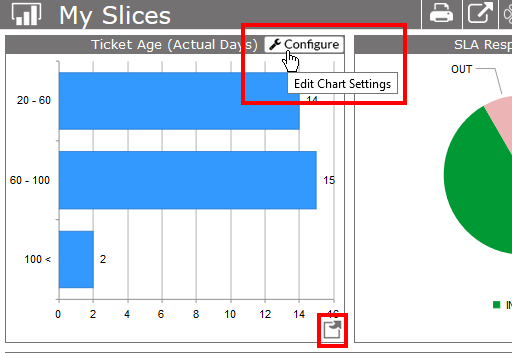
You will be taken to the edit screen for that particular Slice. By clicking on the Preview button in the lower right, you can see if your changes have the effect you were looking for.
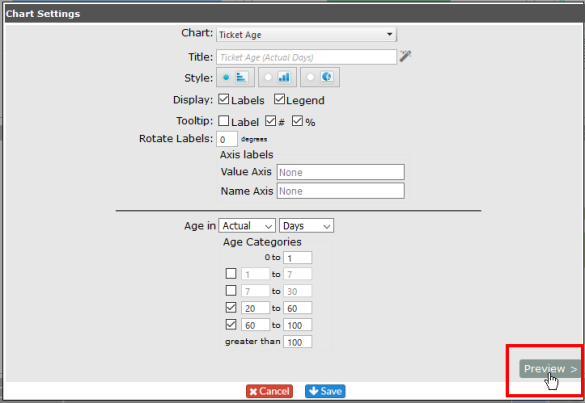
To go back to the Edit screen, click on the Back button.
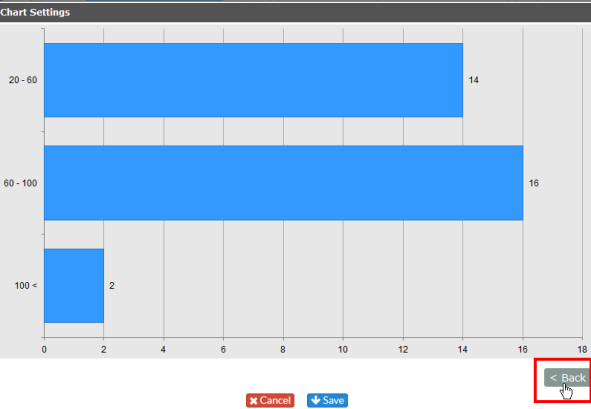
When you're done, click Cancel to go back to the original Slice, or Save to retain your changes.
Edit Page
To edit several Slices, or the entire page, click on the Edit button in the top of the screen.

The view allows for up to nine charts in a 3x3 grid. Each chart will expand to fill the row so if you only put one chart on the top row when you save, it will expand to fill the entire row. Click here to see the options available for the charts.
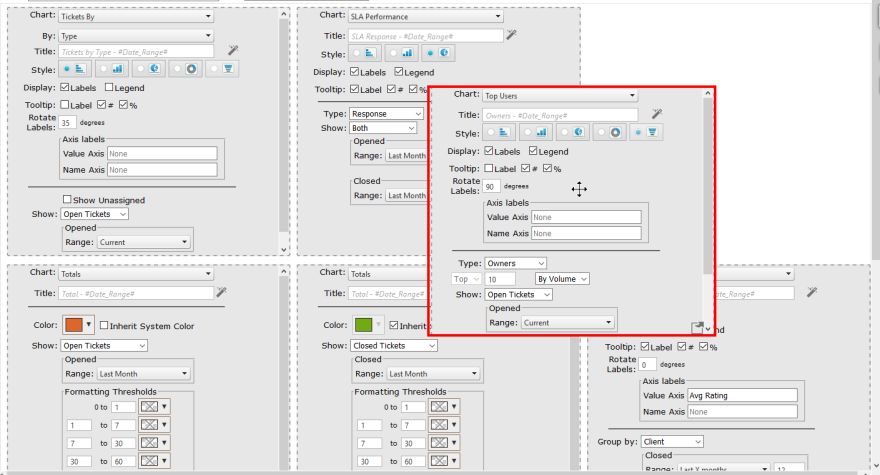
From here, you can edit any or all of your Slices. To preview, click on the icon in the lower right corner for a popup view of the Slice.
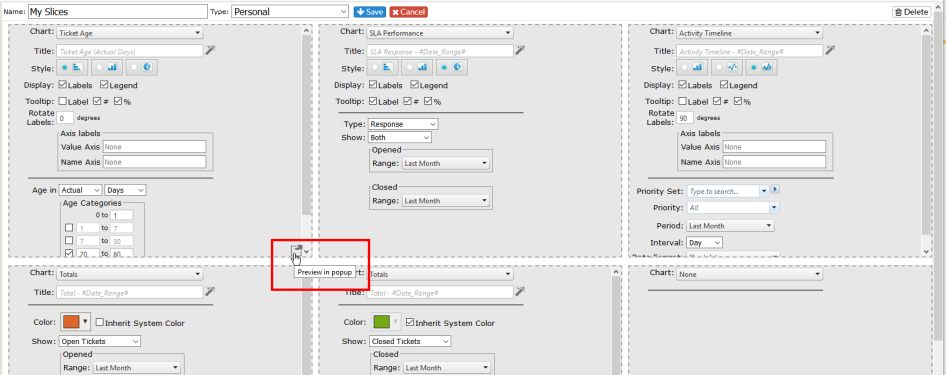
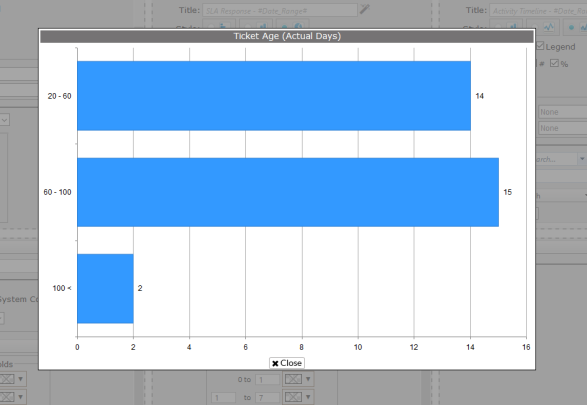
The preview will pop up in front of the grid. Click on the Close button to go back to the grid to continue editing, save or cancel the changes.
If you want to rearrange your Slices, you can drag-and-drop a chart within the grid to the appropriate location.
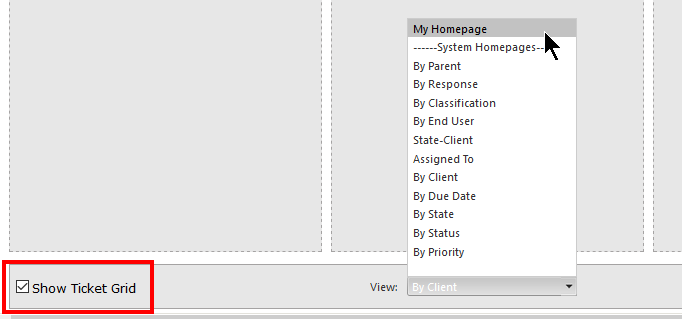
At the bottom of the grid is a check box where you have the option to Show Ticket Grid. If checked, when you click on your Slice, you will have the option to show the tickets relating to the Slice in a new window (default, or in a grid below the Slices page. You will also have the option to select the view. The drop down is not visible if the option is not checked.
For more information on the options available within each type of Slice, see Available Slices.