Change the Default Closed Status
Default status will have a D in a circle in front of them.
Add New Closed Status
-
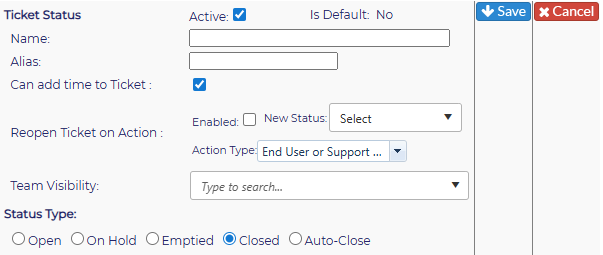
Click on the New button
-
Name the status type
-
Provide an Alias (short name) for the status type
-
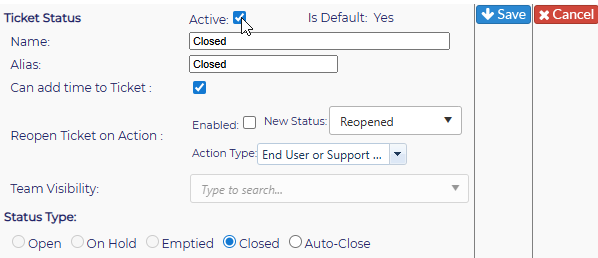
If the status type is to be active, ensure the Active box is checked
-
-
If status type is to be inactive, ensure Active box is unchecked
-
An Inactive Status will show at the bottom of the list, grayed out and in italics
-
-
Select the Status Type ( Closed)
- If selecting Status should automatically add time to the ticket, check the Can add time to Ticket: box
- If the ticket should reopen if there is a new Action added via email, etc.
-
Select the Status Type (Closed)
- Select an option from Team Visibility, or Check All in the drop down to have all teams see the status
-
Click on the Save icon, or if you don't want to save the status, click on the Cancel icon
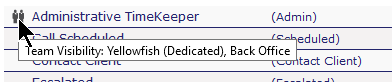
If a status has Team Visibility options selected, you will see an icon in front of the status. When you roll over it with your mouse, the teams will be visible.
Change the Default Closed Status
-
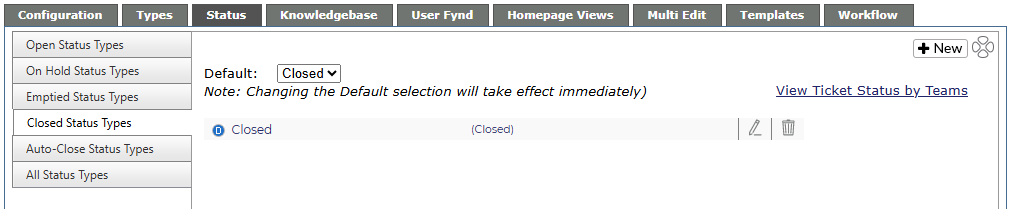
Select the appropriate status from the drop down at the top of the screen
-
The Default icon will move to the new Default status.
-
-
This change takes effect immediately
-

Turn Closed Status Inactive
-
Click on the pencil icon to the right of the status you wish to change
-
Uncheck the Active box
-
Click on the Save icon or, if you don't want to keep the change, click on the Cancel icon
Delete Closed Status
-
Click on the red X to the right of the status you wish to delete
-
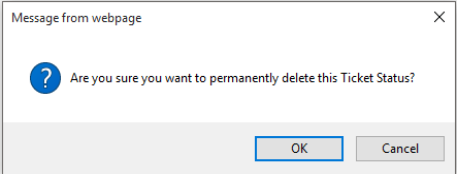
You will get a warning message - if you wish to delete, click OK, if not, click Cancel