
Security
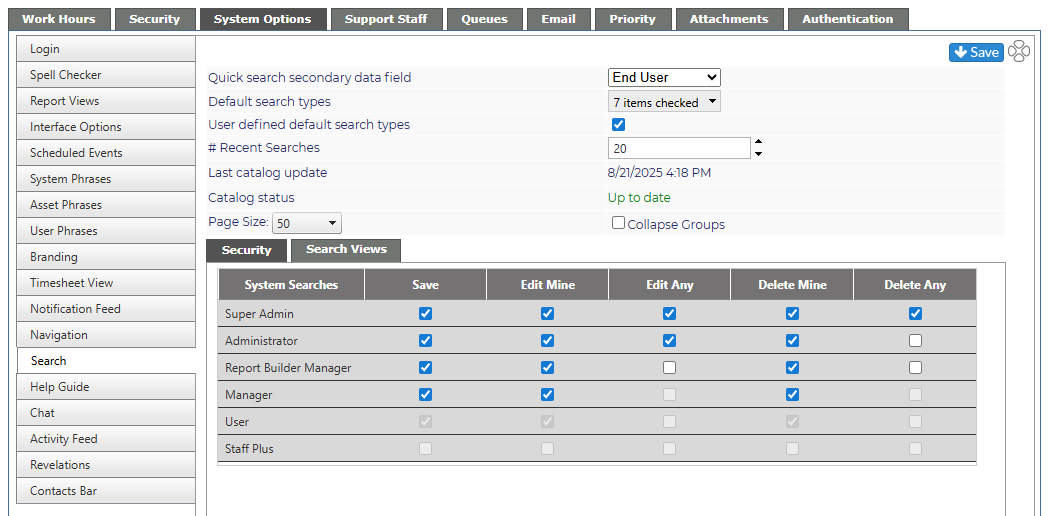
Super admins have the ability to control and customize the search capabilities that their internal users – and end users – can work with.
Quick search secondary data field
Select the preferred secondary data point from the drop-down menu: Client, End User, Office, or Project.
Default search types
While users can customize their results under the quick search drop down, Administrators have the ability to control the default types available for use.
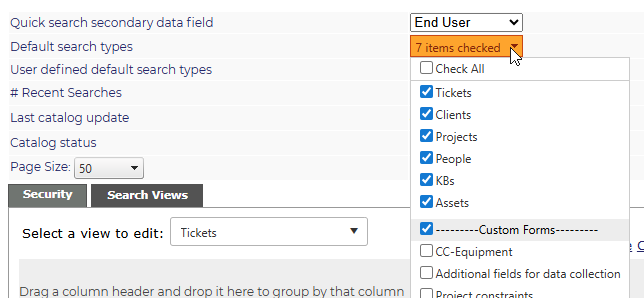
User defined default search types
Allow users to customize their own their own defaults by checking (or unchecking) the option.
# recent searches
Adjust the number of recent searches visible to users historically.
Last catalog update and status
Revelation keeps track of the latest search catalog refresh.
System Search Control
Use the table to control how different tiers of user are allowed to create, edit, and delete system searches.
NOTE: When making any changes to this page, be sure to hit Save once all changes are completed.
Search Views
Much like the Home Page Views, you can create and edit custom views for Search results. The columns on Search Views can be rearranged based on your needs: Administrators can customize how the search results appear for each type of search view.
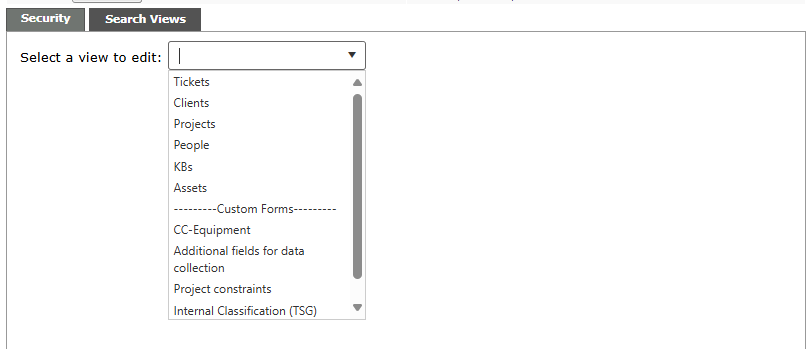
Use the drop-down menu to select the Search View that needs to be changed.
New Search View
Click on the  to create a new View, and enter a name for your view:
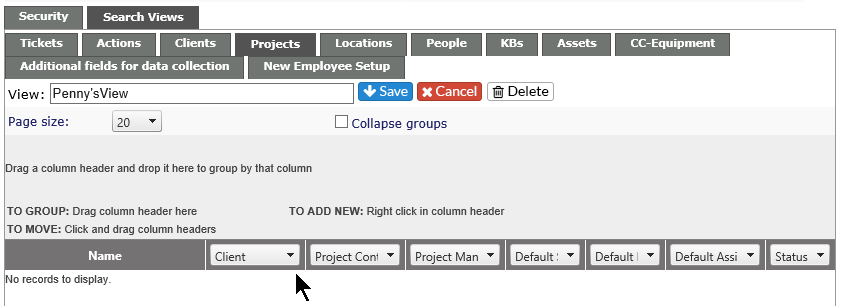
Select the tab you wish to have as your base - Ticket, Action, etc., and group the items as needed. If you group the items, you can select to have the groups expanded or collapsed by clicking on the Collapse group check box. Checked, it will have all the groups collapsed. If unchecked, the results will be fully expanded.
NOTE: The tabs available will include any Custom Forms which are searchable. If you have no forms, the second and subsequent rows of tabs will not be visible.
Once you have created the view, click on the Save icon at the top of the page to retain the settings, or click on the Cancel button by the View box.
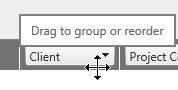
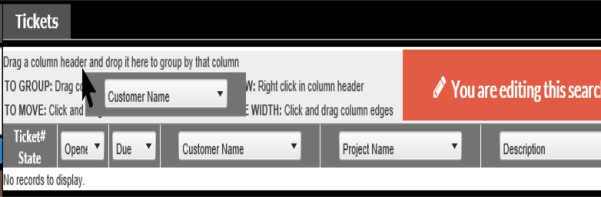
To Group items |
|
|
Select the Column to group by |
|
|
Hover over the column until you see the double arrow |
|
|
Drag column header to Dialogue box at top of grid
|
|
|
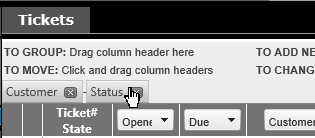
You will then see a Grouped By header and, if multiple columns have been added, it will be a string showing the order for the grouping. |
|
|
|
To delete a grouping, click on the X |
|
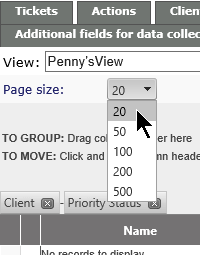
Set the page size to show 20, 50, 100, 200 or 500 results per page |
|
-
Once all your changes have been made, click on the Save icon at the top of the area.
-
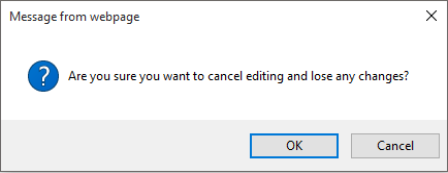
If you don't want to save the new view, click on the Cancel button by the View Name. You will receive a warning about cancelling the editing. Click OK to cancel the changes, or Cancel to continue editing.
.
Arrange column order
Column order can be rearranged by dragging each item to the location you would like to have it on your search results. As you move each item, you will see blue arrows at the top and bottom of the area, showing where the header is being moved.

Delete a View
If you decide you wish to delete a view, select it from the drop-down list, and click on the Delete button.
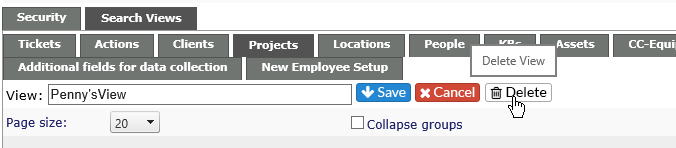
You will receive the following warning:
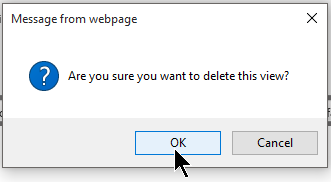
Click OK to delete, or cancel to keep the view