A Super Admin or regular Admin can set up the Client types used throughout the system.
Add Client Type
Click on the New button at the top of the screen
-
Select the New button at the top of the section.
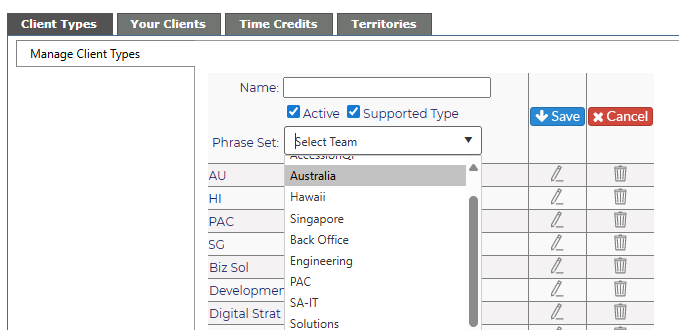
- Type in the type (Client, Vendor, Outsource, etc.).
-
-
If the type is supported by your help desk, ensure Supported Type is checked
-
-
Select the Phrase Set to be used for the Customer Type (for custom email notifications, etc.)
-
To cancel adding the type, click on the Cancel icon
Edit a Client Type
-
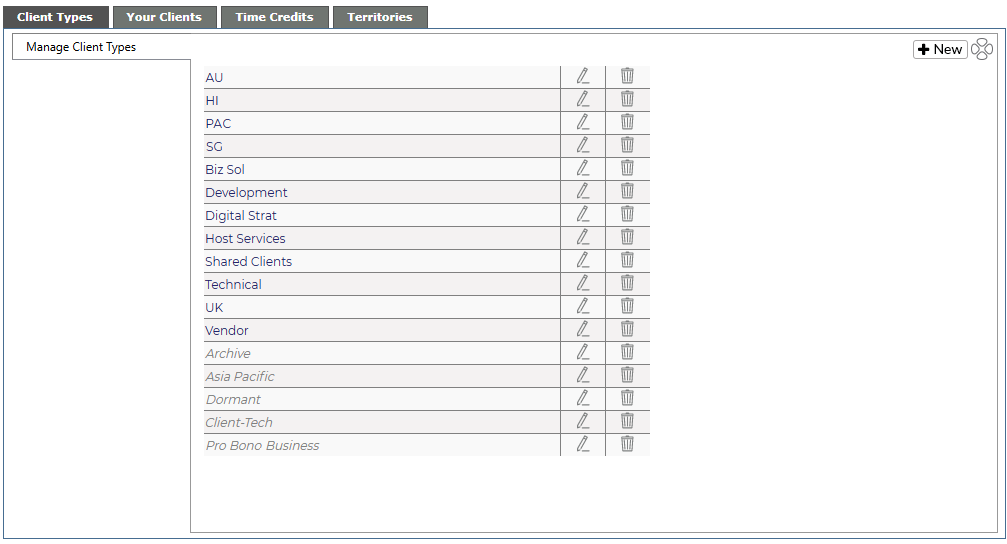
Click on the pencil icon to the right of the type
- If needed, select the Phrase Set for the Team (WARNING: This is an Advanced Feature and should be used with care.)
-
Make your changes and click the Save icon to keep changes, or the Cancel icon if you don't wish to keep the changes.
Turn Client Type Inactive
- If the type becomes inactive at some time, edit by clicking on the pencil icon to the right of the type.
-
Uncheck the Active box to turn inactive. the inactive Client Types are at the bottom of the list in gray italic type.
-
-
To reactivate, edit the type and recheck the box.
-
Delete a Client Type
-
Click on the red trash can to the extreme right of the type.
-
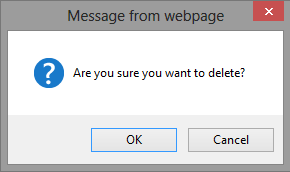
You will receive a warning message before being able to delete the type.
-
Click OK to delete, or Cancel to keep.