
From this area, Super Admins will be able to build new forms, copy forms for editing and use in other projects, import a form from a file, and run a report to show which projects are using which forms. You will be able to run reports, via Report Builder, on the information the forms contain.
Across the top, you may see three tabs – Published, Draft and Archive. Each will have a number in parentheses showing the number of forms on each tab.
To edit an existing form on any of the tabs, click on the pencil icon in line with the form name. To delete a form, click on the delete icon in line with the form name. You will receive one of two warnings. First, asking if you want to delete the form and all its fields or a warning that the form is in use and cannot be deleted.
Build New Fields
At the top right of the screen is a link for Build New Fields. This will bring up a blank form to build.
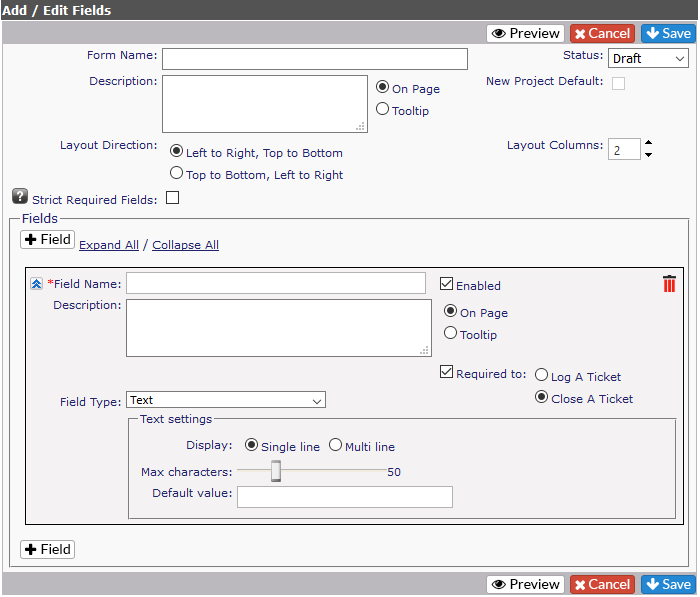
- Form Name: Give the form a name
- Status – Select from Published, Draft or Archive.
-
- The default when creating a new form is Draft.
- Description – include a description of the form.
-
- Select to have the description be included on the page or as a tooltip. The Tooltip will show the text when the mouse is rolled over the question mark.
- New Project Default – check this box if this form will be included with all new projects created in Revelation. NOTE: Only one form can be selected as the default.
- Layout Direction – Fields will be displayed left to right, top to bottom or Top to bottom, left to right.
- Layout Columns – You have the option of one to five columns for display
- Strict Required Fields - Force internal staff to complete required fields before being able to perform other actions like adding Notes or reassigning the Ticket.
- *Field Name – Fill in with a descriptive name
- Enabled – If checked, the field is enabled. If not, it will not be visible
- Description – A description of the Field
-
- Select to have the description be included on the page or as a tooltip. The Tooltip will show the text when the mouse is rolled over the question mark.
- Required to – If this is checked, the information will be required. You will need to select if the information is required when the ticket is logged or before the ticket can be closed.
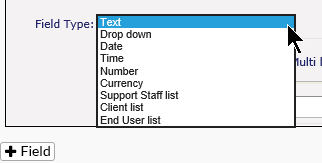
- Field Type – You have 9 options for the Field type.
|
Field Type |
Settings |
|
Text |
Display as Single line or Multi Line Max characters – 1-200 characters Default Value – Type in value if needed, or leave blank |
|
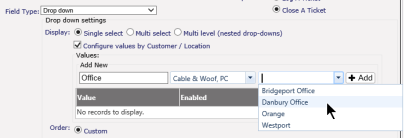
Display – Single select, Multi Select, Multi Level (Nested Dropdowns) Configure values by Customer/Location to allow you to use a single form for multiple clients: Add in the value name, select the Customer and location from drop downs Order: Select order of information in drop down Default – select which value will be the default
|
|
|
Date |
Date Settings: Date Only, Date and Time Default Value: Select None, Today’s Date or put in a specific date |
|
Time |
Default Time – Adds time into the Custom Fields area in the ticket, but does not add it to the ticket itself. |
|
Number |
Decimal digits – from zero to four digits after the decimal Min Value – Minimum value allowed to be entered Max value – Maximum value allowed to be entered Default value – if there is a default value for the field. |
|
Currency |
Min value – Minimum value to be entered Max value – Maximum value to be entered Default value – if there is a default value for the field |
|
Support Staff List |
Display – Single select or multi select Default value – Select from the drop down. Information is taken from the active Support Staff area of Revelation. |
|
Client List |
Display – Single select or Multi select Default value – select from the drop down. Information is taken from the active client list in Revelation. |
|
End User List |
Display – Single select or Multi select Default value – Select from the drop down or select one to be the default client. Once a client is selected, the second drop down will list the end users for that client. |
Once all the information for the first field is completed, you can add additional fields following the same instructions.
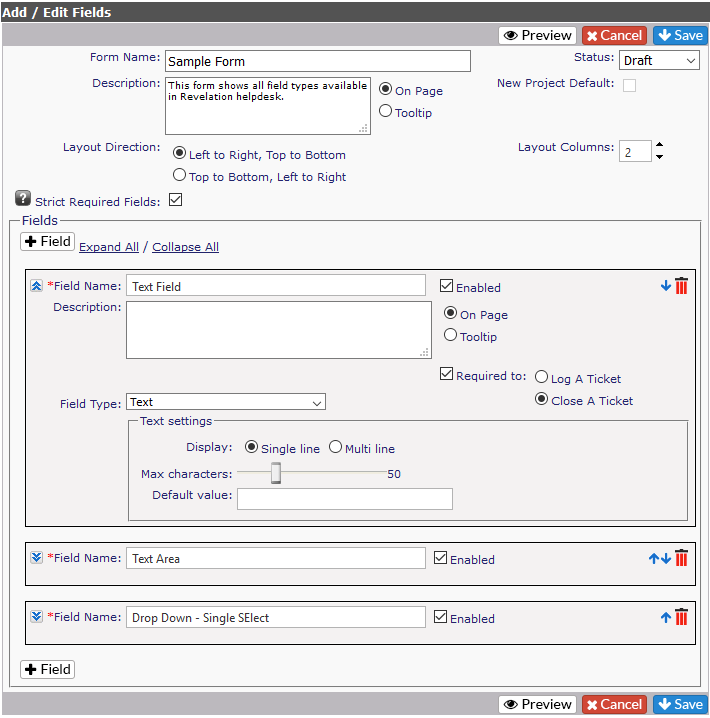
- To add additional fields, click the Add button below the Field box. Each field can be a different Field Type.
- Once all the fields have been added, they can be rearranged by clicking on the up or down arrows on the right corner of each Field.
- If a field has been added, but is not needed at this time, you can disable it by unchecking the Enabled box next to the Field Name. The Field will drop to the bottom, and be grayed out. The field will be available to be enabled at a later date.
- If you decide to remove a field completely, click on the delete icon.
The Expand All / Collapse All at the top of the forms will expand or collapse all of the boxes for the Field Names. If you have several Fields, this will make it easier to view all the names. To expand only one, click on the down arrows to the left of the *Field Name:.
Once you’ve added in all the information, click on the Save button at the top or bottom of the form. If you decide you do not want to keep the form, click Cancel.
Copy Existing
In some cases, it may be that an existing form is set up in such a way that it is close to what you need for a new form. You can copy an existing form and edit it to meet your needs.
- Click on the Copy button at the upper right of the Forms list.
- You will see a drop down where you can select the form you wish to copy.
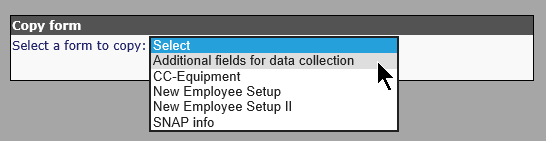
- Select the form and click OK if it is correct, or Cancel if you don’t want to select from the list.
- Put in a new Form Name at the top
- Make changes in the description, etc. as needed
- To edit the options in the Field Names, expand the Field Name(s) you wish to edit and make your changes.
- Click Save when done.
Import from File
There will be a public area where Custom Field templates are published. These templates may be of use to your organization and, as such, you can import them into your copy of Revelation.
PLEASE NOTE:The Revelation .rdlc format is proprietary to YellowFish Software and it is the only file type supported by the Import File feature for Custom Fields. This is to take every precaution to prevent malicious code from being imported into your copy of Revelation.
To import a file into Custom Fields, click on Import button at the top right of the screen.
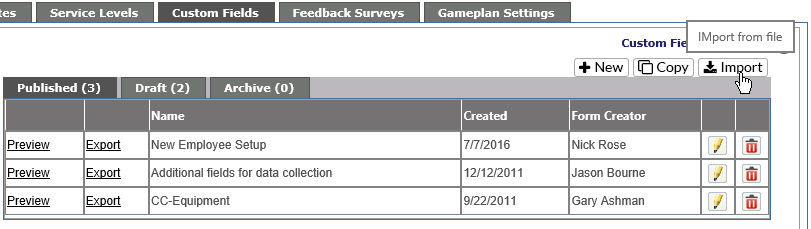
Click on the Browse button to search for the file you wish to import.
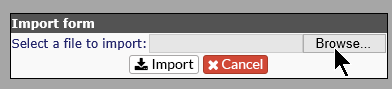
Click on the form and then click on the Import button. The form will now be available for editing. Rename the form and edit the fields to meet your specific needs.