
Add a Queue
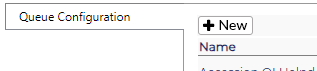
To add: Click on Add New at the top of the tab, then enter the Queue name.
-
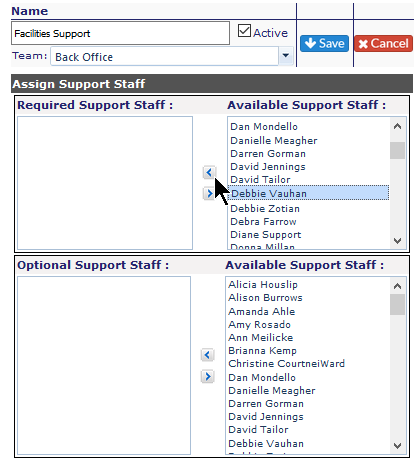
If this Queue should be tied to a specific Team, select from the drop down. Once saved, it will be visible on the Queue grid.
- Move the Available Staff required in the group from the right column to the left using the arrow keys.
-
-
If there are optional staff for the queue, they can be added here as well.
-
NOTE: Users cannot be indicated as a required staff AND optional staff. If trying to add a user to both fields, a warning message will appear indicating the user will need to be removed from the required staff field before adding to additional staff field.
-
-
If you don't want to save the group, click on the Cancel icon
-
If you wish to save the group, click on the Save icon when done.
Also, if a Queue is being used for ticket routing, at least one person must remain in the queue while tickets are being monitored.
Edit a Queue
To Edit any queue, click on the pencil icon to the right of the queue name.
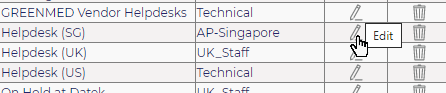
Once the fields open, you can add or remove staff from either the Required or Optional Staff areas.
Inactivate a Queue
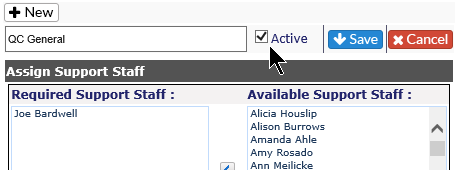
To turn any queue inactive, click on the pencil icon and uncheck the Active box. Once you hit Save, the group will appear in italics and grayed out at the bottom of the Group configuration listing.
Delete a Queue
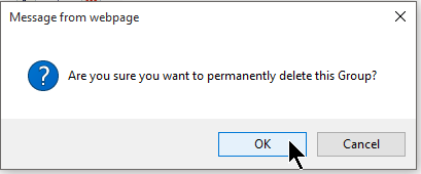
To delete any queue, click on the red X to the right of the Queue name. You will receive a warning message; the Queue will not be deleted unless you click OK.
If you try to delete a Queue which is still assigned to a Ticket in the system, Revelation will alert you.