
From within any ticket, send a meeting notification to a client to schedule an onsite visit, or send yourself a reminder to follow up with a client/vendor. The interface, like the Scheduled Events, is similar to Microsoft Outlook.
If enabled, you will see: 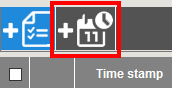
If disabled, the Add Event button will not be visible:
To create an event:
-
Click the Add Event icon in the ticket.
-
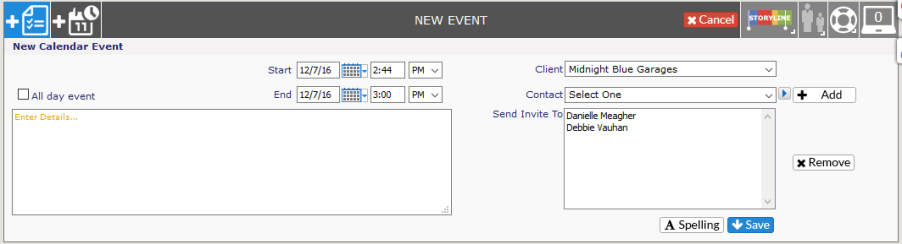
Fill out the options in the window that appears.
-
The event will automatically populate the client contact assigned to the ticket, along with the individuals assigned to the ticket. You can change this as needed by adding the staff required.
-
Click on Save. You will see the information in a note in Revelation.

-
You will receive an email with an ICS attachment (as will any other invitees scheduled in the event).

-
Open the email attachment and accept the invite.
-
-
The email comes from the person's network user account and email, so if a client declines, you will receive the notification directly.
-
The body of the text content of the invite is replicated in the email so it can be referenced from a mobile device that may not be able to access the calendar information easily.
-
The event will now be in your Outlook calendar (or other calendar of choice - for clients who use other calendars that support ICS invitations).
NOTE: Once the event is in your calendar there is no ongoing hook/link with Revelation.
If you need to reschedule the event, you can do so by moving it in your calendar as you would any other event and the other invitees will be automatically notified. Revelation WILL NOT be updated.