If the Timesheet View feature is active in the Administration section, you will see the Timesheet button appear on your home page at the top right corner:
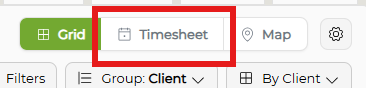
To access your timesheet, click the Timesheet button - Revelation will populate the Timesheet screen.
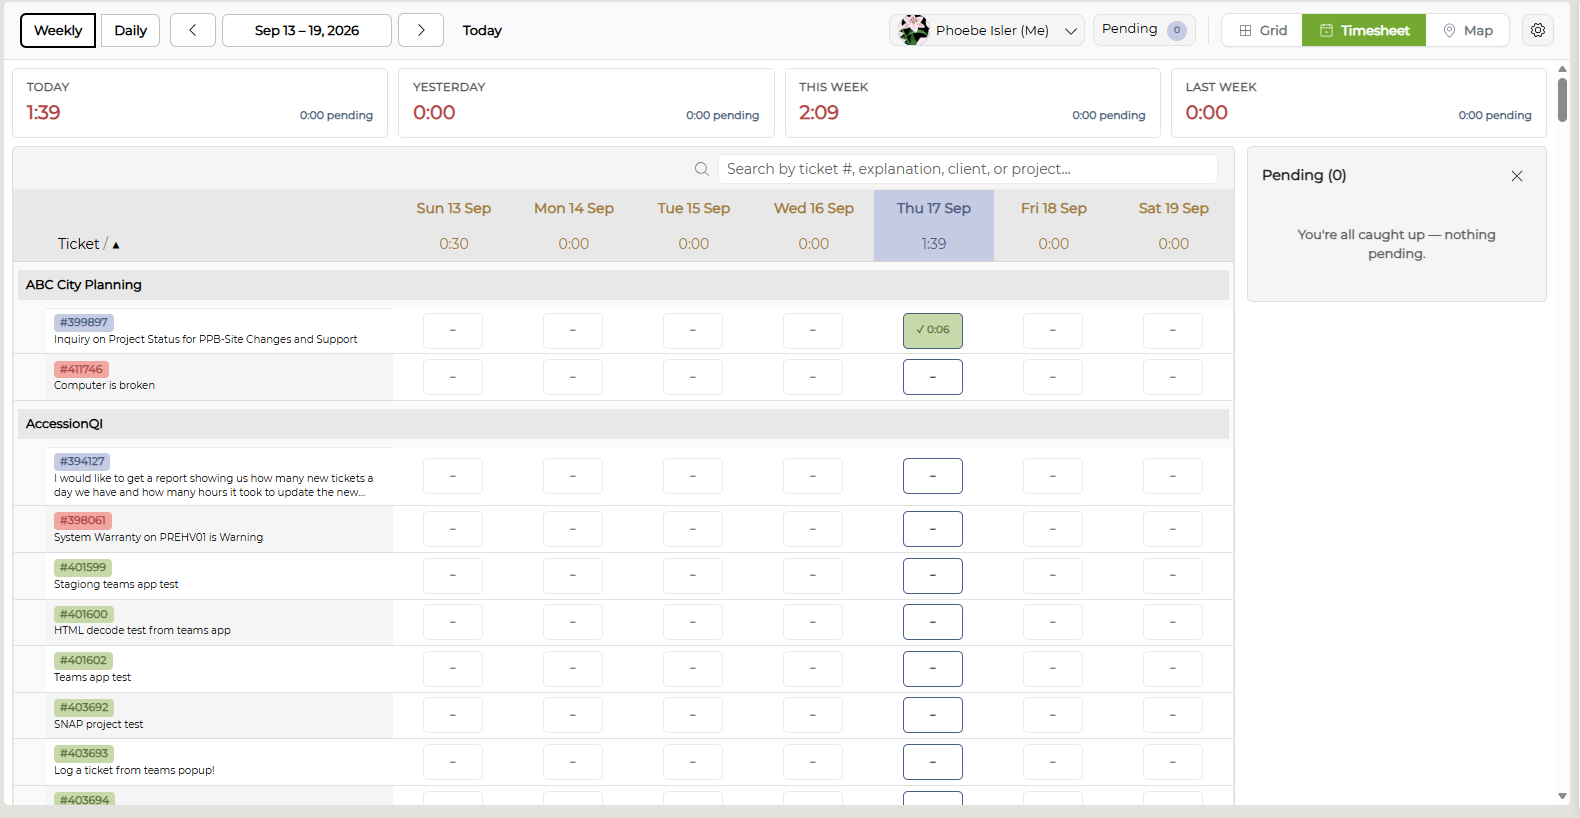
Timesheet View will show every ticket that you have toggled on in Grid View. The timesheet header is set so you can see the dates at the top and the total number of hours (billable, non-billable and total hours) at the bottom, no matter how far down the page you scroll.

The indicator will show the number of days without at least the minimum number of hours required. This is set by the working hours in Revelation. The number of daily hours is set in the Administration section by a Super Admin.

NOTE: Any dates which have less than the required minimum will be in Yellow when viewing the timesheet in either weekly or daily view.
Within Timesheet View, you have the option to view your tickets in either Daily or Weekly view.

NOTE: Once you have the Timesheet view open, you can sort by Ticket number or Client name. If you choose Client name, it will group the appropriate tickets by Client. The Ticket number sort will show the tickets in numerical order.
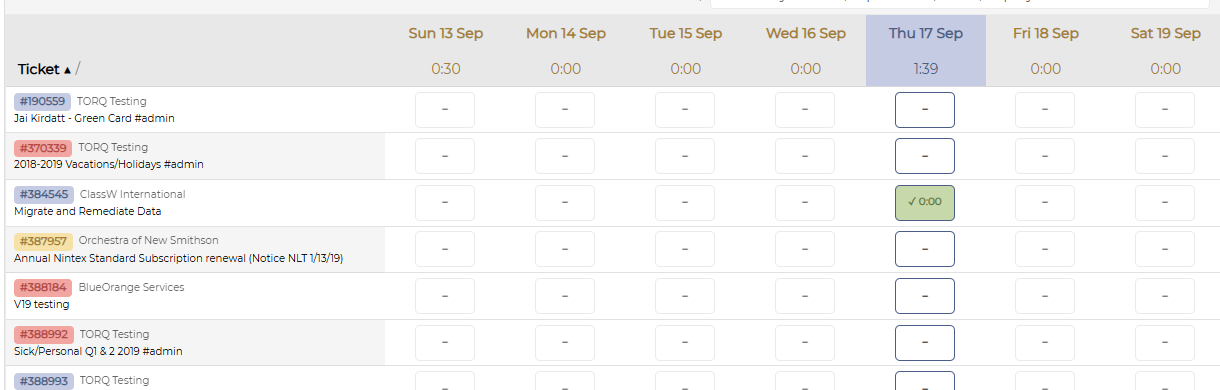
Time can be entered across multiple days for a particular ticket or against multiple tickets. Revelation can go back as far as you need, either by week or by day, to log any time missed.
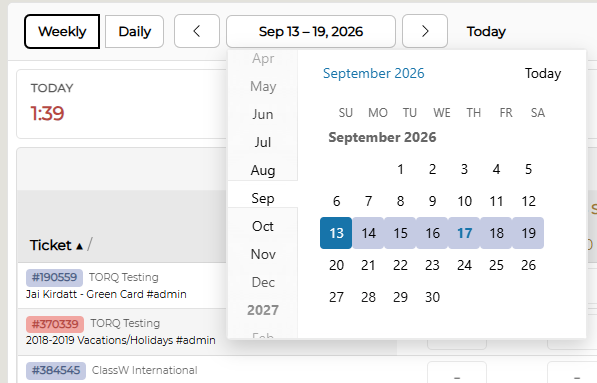
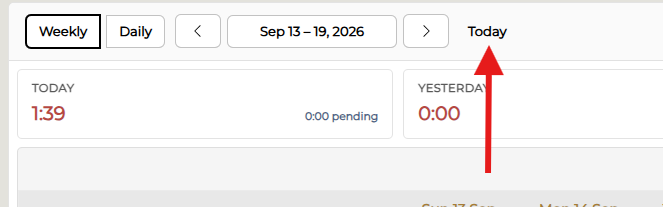
When you open Timesheet View, it will automatically open on today if in Daily View or the current week in the Weekly View. When you are logging time for past days or weeks, you can jump back to your present day/week by clicking the Today button.
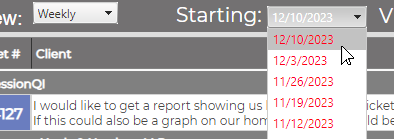
Any dates in the selected view which do not have enough time will show as red. This way you will know which days or weeks you need to update to complete your time.
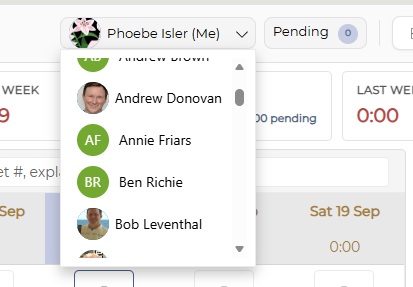
To add time for another member of staff, select their name from the drop-down menu where your name appears:
Any dates which have less than the required minimum will be in Yellow when viewing the timesheet in either weekly or daily view. If you have your Timesheet set to Weekly View, clicking on any date will bring you to the relevant week.
Depending on the settings put in place by the Administrator, staff will be able to enter their time in one of three ways:
Action Note Required
To add time to the grid, select the relevant box next to the ticket you need to log your time against. In Weekly View, be sure to select the correct date column.
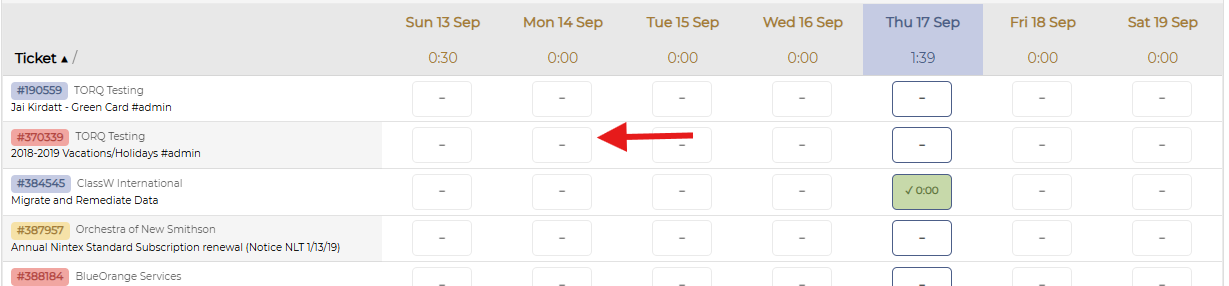
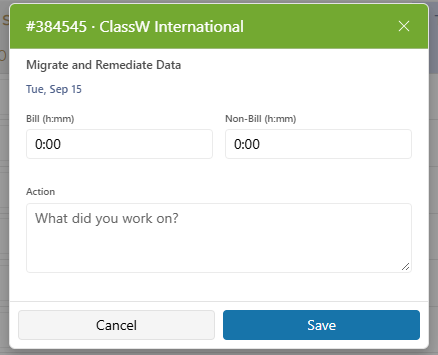
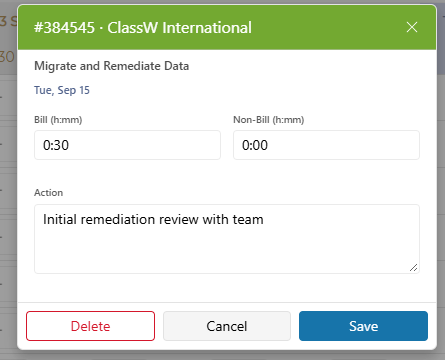
When you make your selection, the Action Note entry will pop up. Add your billable and/or non-billable time in the relevant fields, then type in your Action Note.
Once completed, hit Save. The time entry will appear next to the relevant ticket in blue.
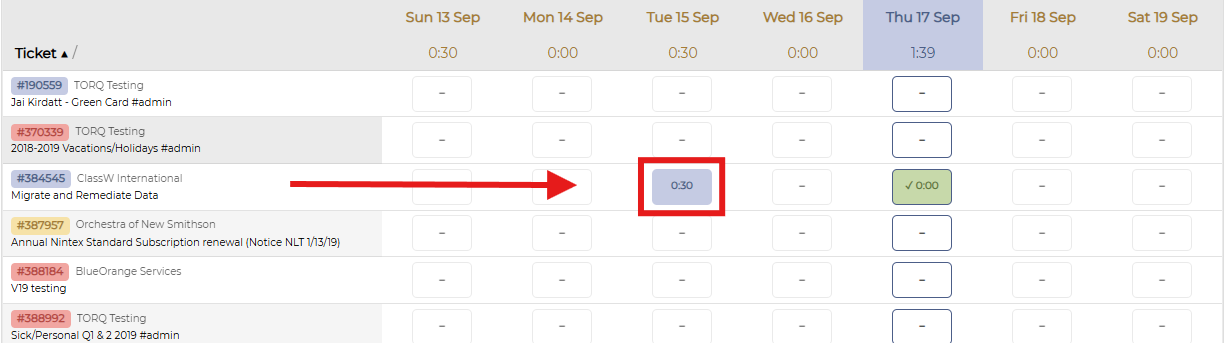
Repeat with each time entry you must make. You will need to do this for each day you have added time for a ticket.
Once you save the note, you have the opportunity to change it before committing it to the ticket. Click on the blue entry to open the Action Note Edit pop-up.
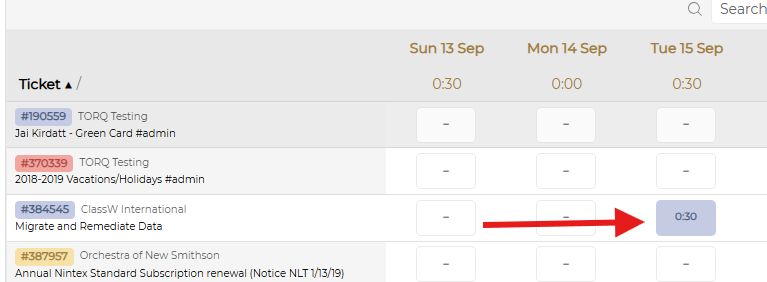
Once you have finished adding all of your time, you must commit your changes in order for the time and action notes to publish. All the action notes you have entered and saved will appear in the Pending section on the right side of your Timesheet.
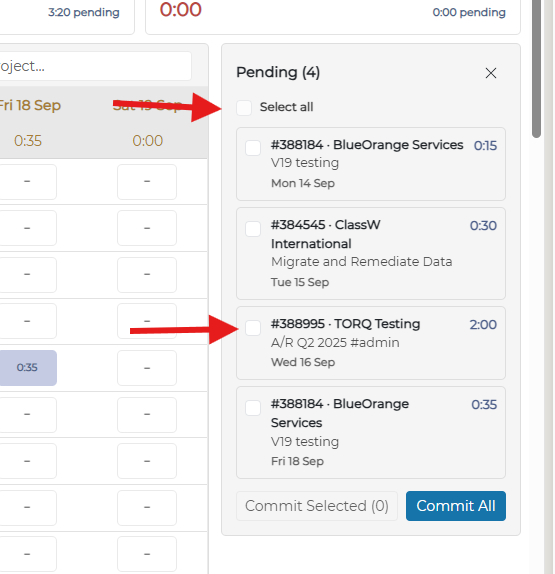
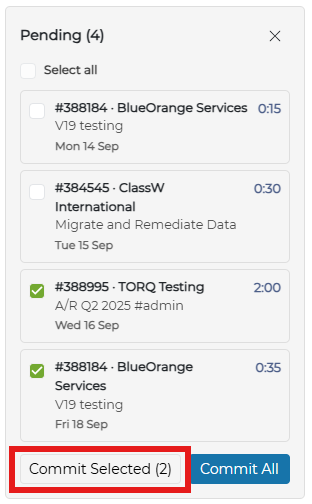
To save all action notes at once, click the Commit All button. This will automatically push all of your action notes to the live ticket. If you need to push individual action notes out one at a time, select the checkbox next to the relevant ticket number and click the Commit Selected button. This button will show you how many action notes you have selected for publishing.
Action Note Optional
If the Administrator has set the Timesheet view to Optional, you will have the option to fill out the action note field. If you do not fill out the field, a default statement will be added to the ticket.
Action Note Not Required
If the Administrator has set the Timesheet view to Not Required, you will not have the option to add an action note. Instead, a default statement will be added to the ticket.
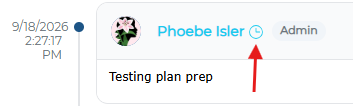
When a note has been added through the Timesheet view, you will see the following icon in the note header: