Mapping is activated in the Administration area. If active, you'll see the Map button at the top right of your home page.
When you click on the button, a map will appear with markers. These markers represent tickets which are open in that location. The location may be one client or multiple clients in the same area (depending on how far you are zoomed in to the map).
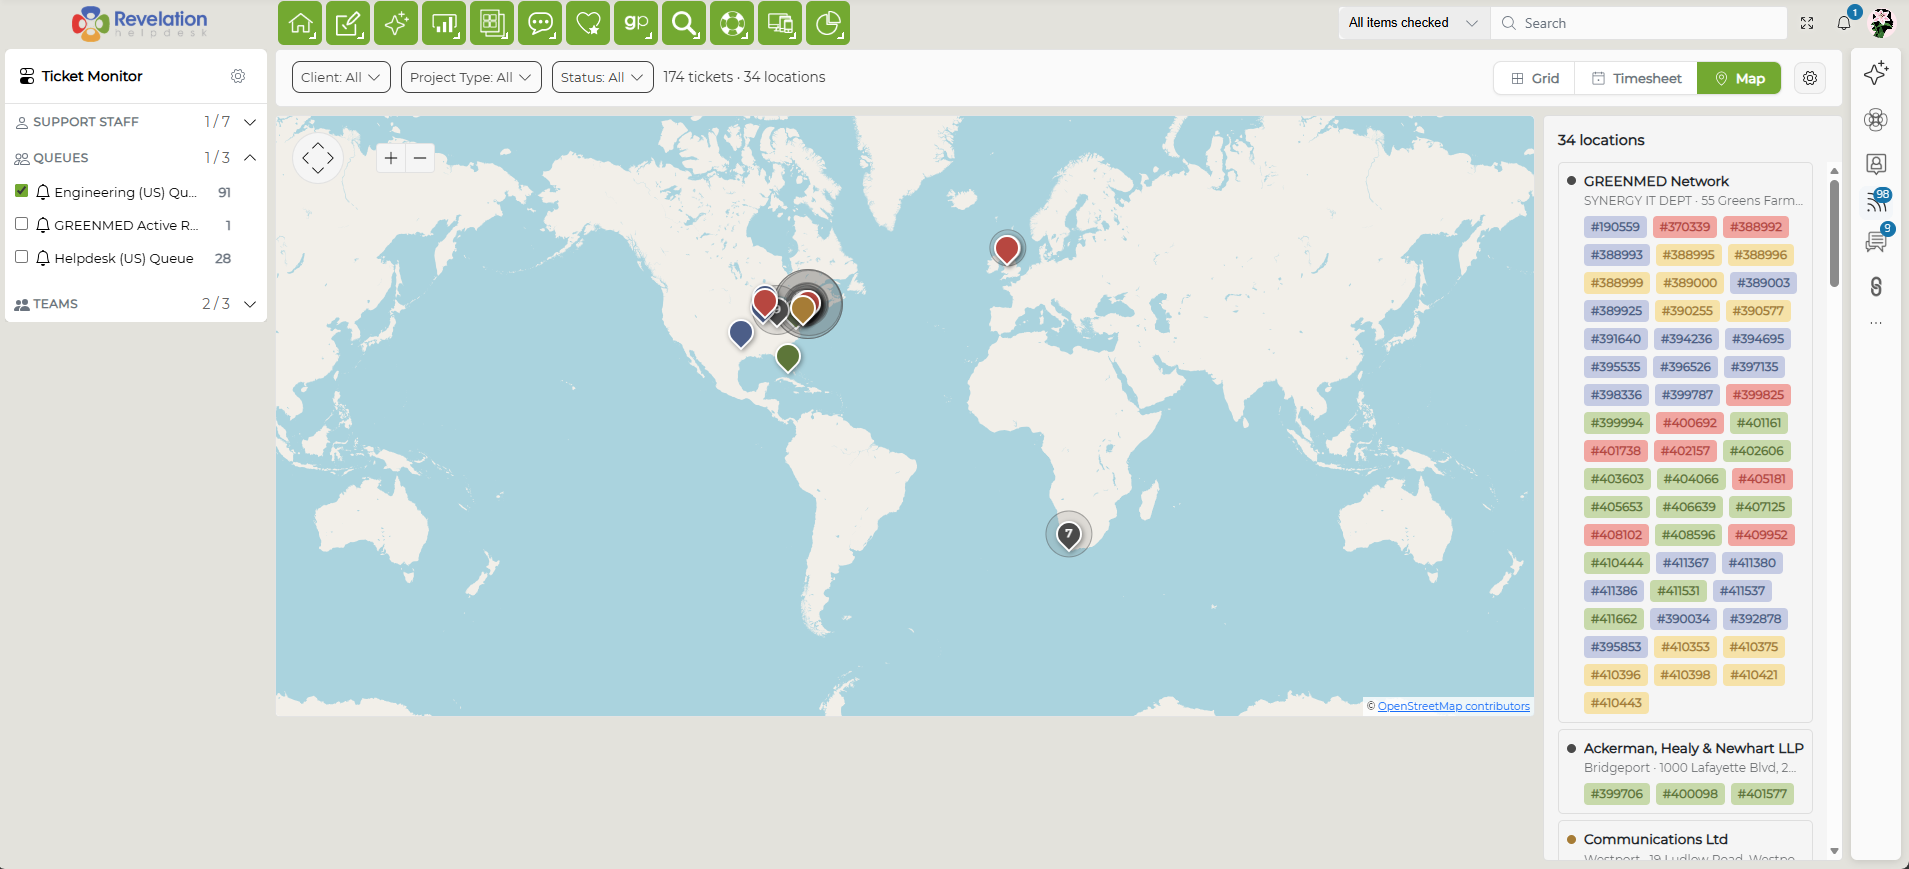
The pins are color coded to match the ticket states:
- Green - New
- Blue - Current
- Yellow - At Risk
- Red - Late
There is an additional color on the map:
- Gray - multiple tickets of different statuses
NOTE: If you don't have the location information entered in the system for your clients, the mapping feature will not work properly.
View tickets
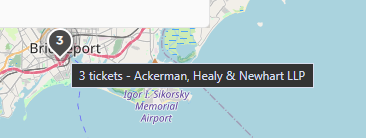
As you zoom in closer, you may see a circle around a particular location. The size of the circle represents the number of tickets at the location. When you hover over the pin, you will see the number of tickets in a tool tip.
Additionally, a list of the tickets for that location will be visible. If there are multiple clients in the same area, all open tickets will be visible.
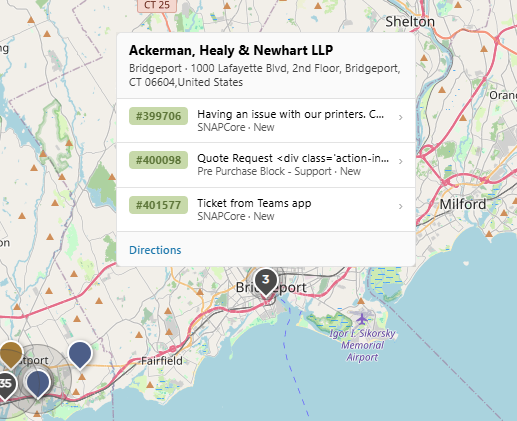
Clicking on a ticket number from this list will take you to the Ticket Description where you will be able to view the Action Notes.
Using the Filter
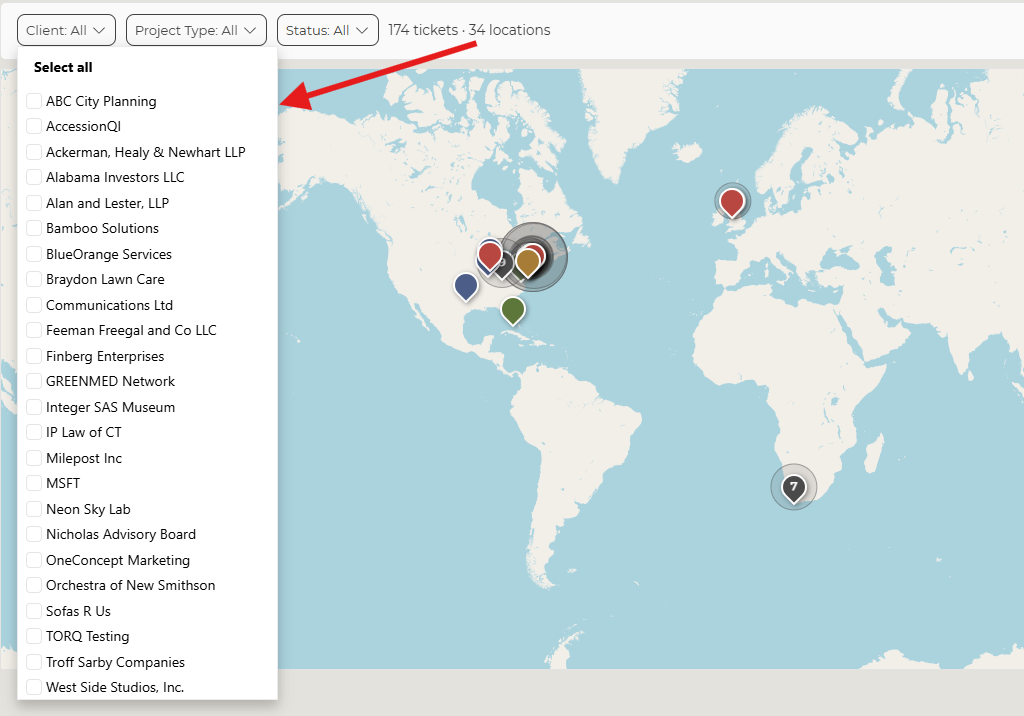
Clicking on each map filter option in the top portion of Map view will allow you to filter the pins by Client, Project Type or Ticket Status.
Once a client is selected, each drop down will show only active items related to that client.
- Client filter: Dropdown that lists all Clients with open tickets. If a client does not have an open ticket, they will not be in the drop down.
- Project Type filter: Dropdown that lists all Project Types configured in your Revelation instance. If a project type does not apply to any open ticket, it will not appear in the drop down.
- Status filter: Dropdown that lists the ticket status of all currently open tickets. If there are no tickets with a specific status, that status will not appear in the drop down.