
To log a ticket in Revelation helpdesk:
Click on the Log a Ticket button (second button) in the masthead area at the top of the page. This will bring up the New Ticket box:
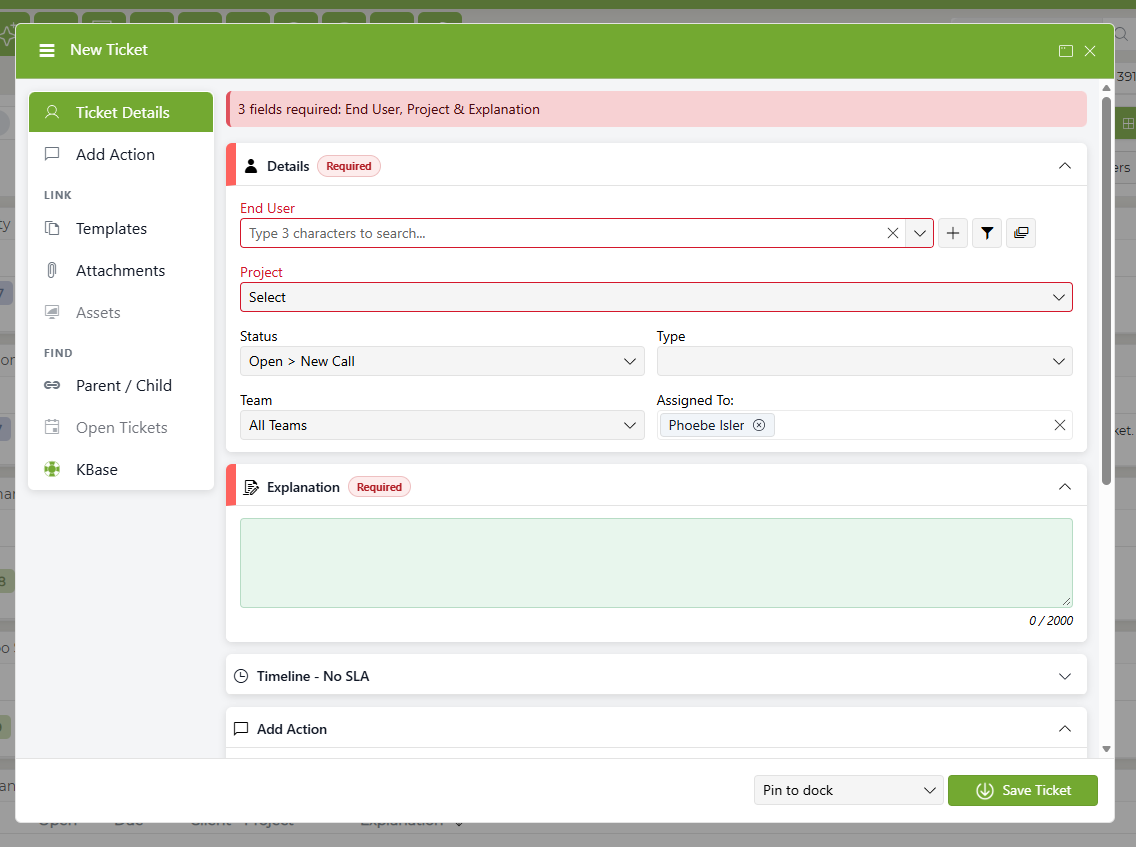
If the pop-up is in your way, you can click and drag the window around on your Revelation screen. You can also re-size the pop-up by hovering over a corner and dragging the window to be larger or smaller. Revelation will re-size all ticket fields automatically to fit the resolution of your window.
NOTE: If Associated Contacts is active, there will be a secondary dropdown under the End User. From here, you will be able to select additional contacts from the client to add to the ticket.
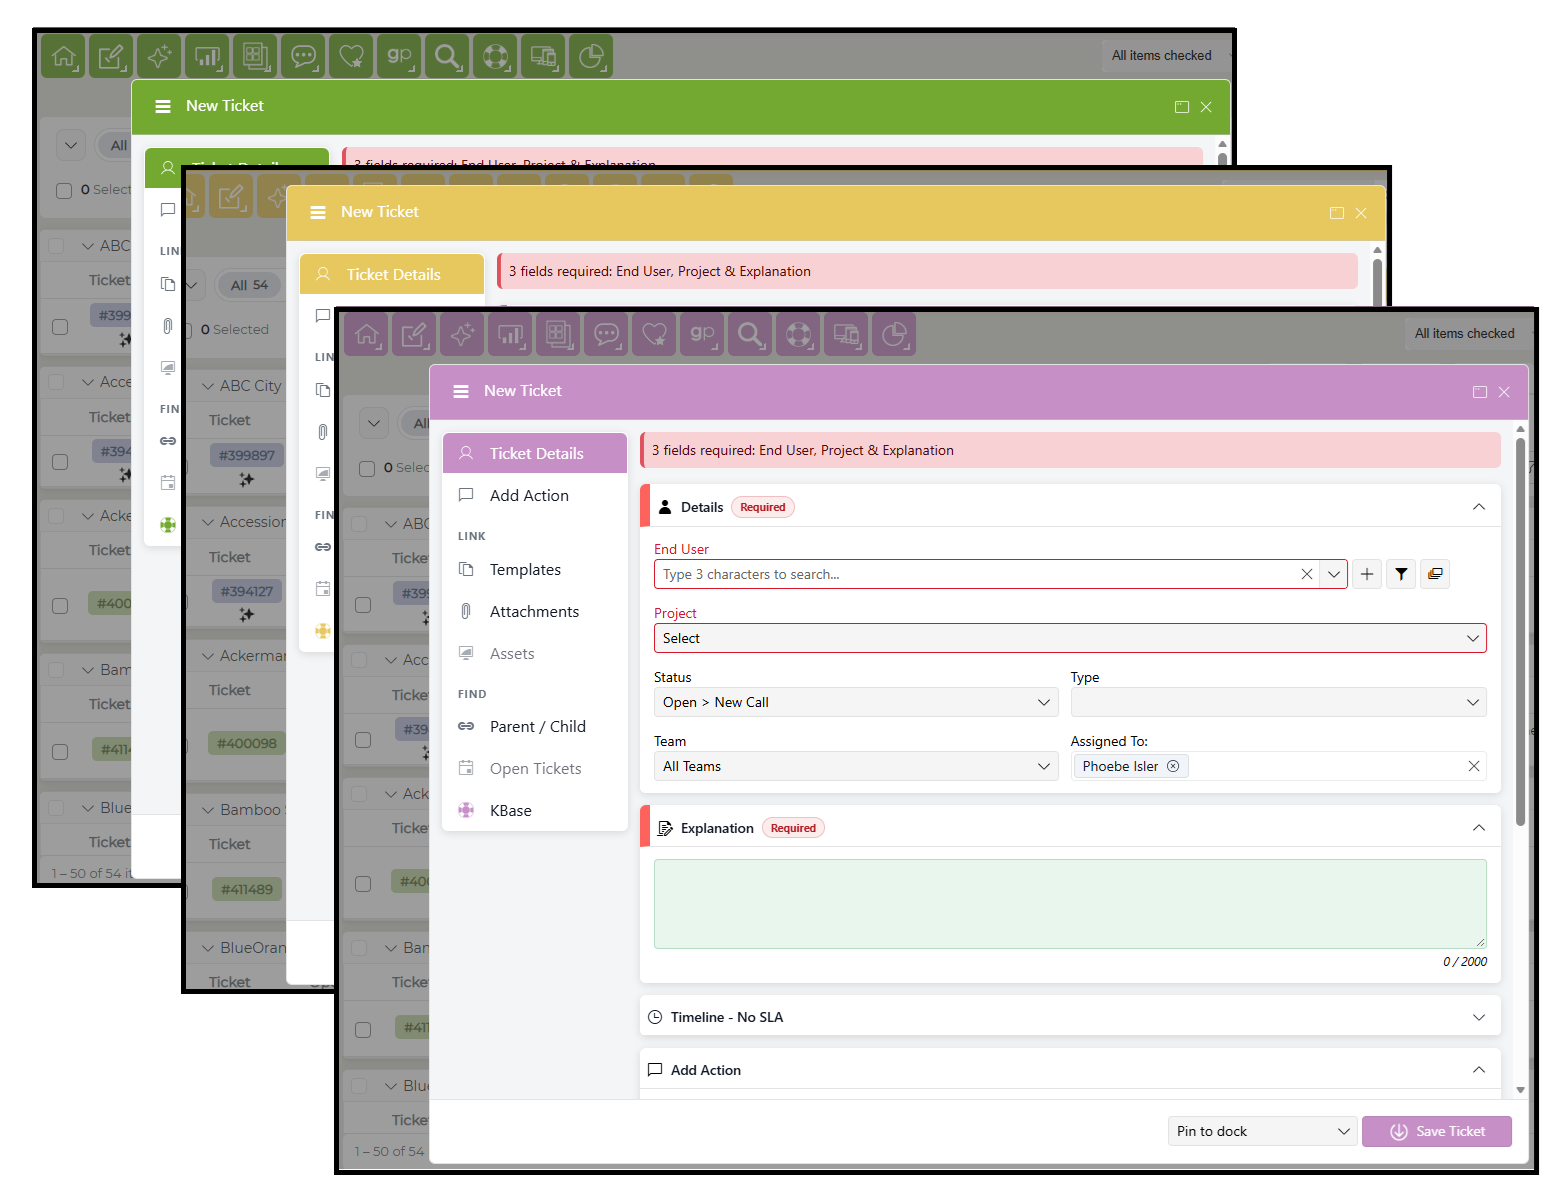
NOTE: The Log a Ticket interface will follow the main Navigational color scheme. If enabled by the System Administrator, users can customize this using their Homepage settings. Otherwise, Administrators can change this in the System Options menu.
Any field outlined in red is a required field.
- End User*
- Project
- Description (shown above as "Explanation")
*If Client/End User Dropdowns is enabled in the Admin Area, the Client Name is required rather than the End User.
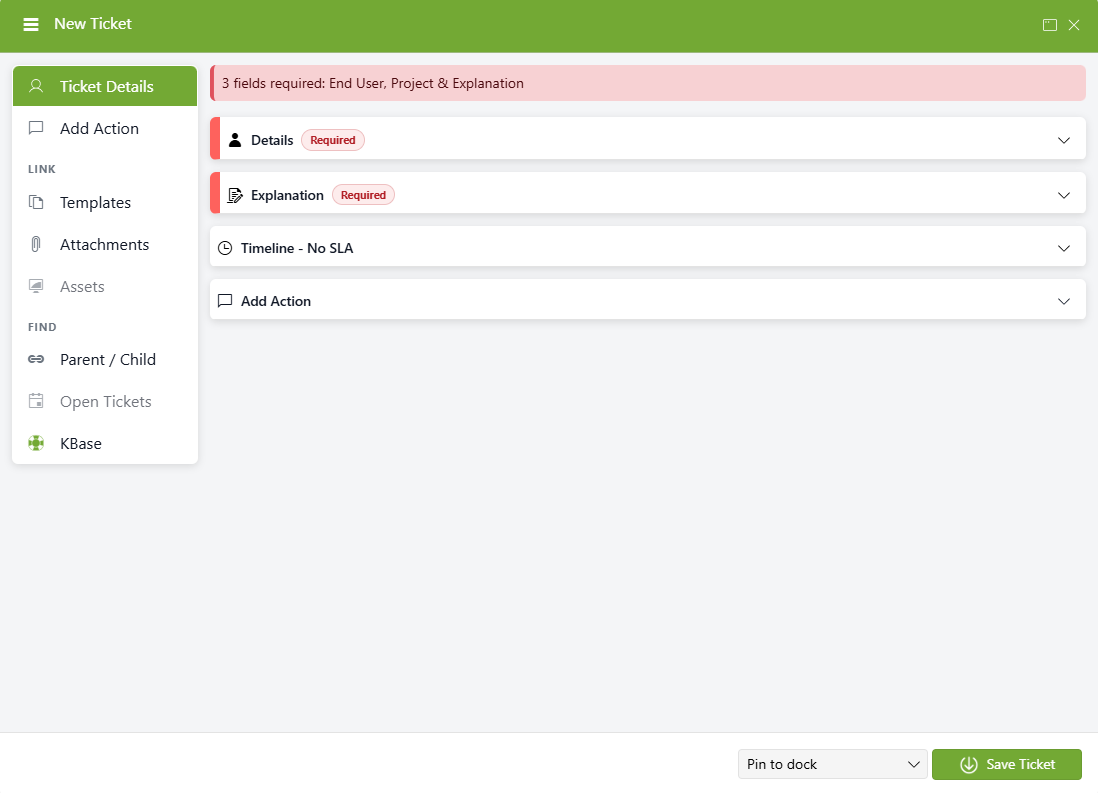
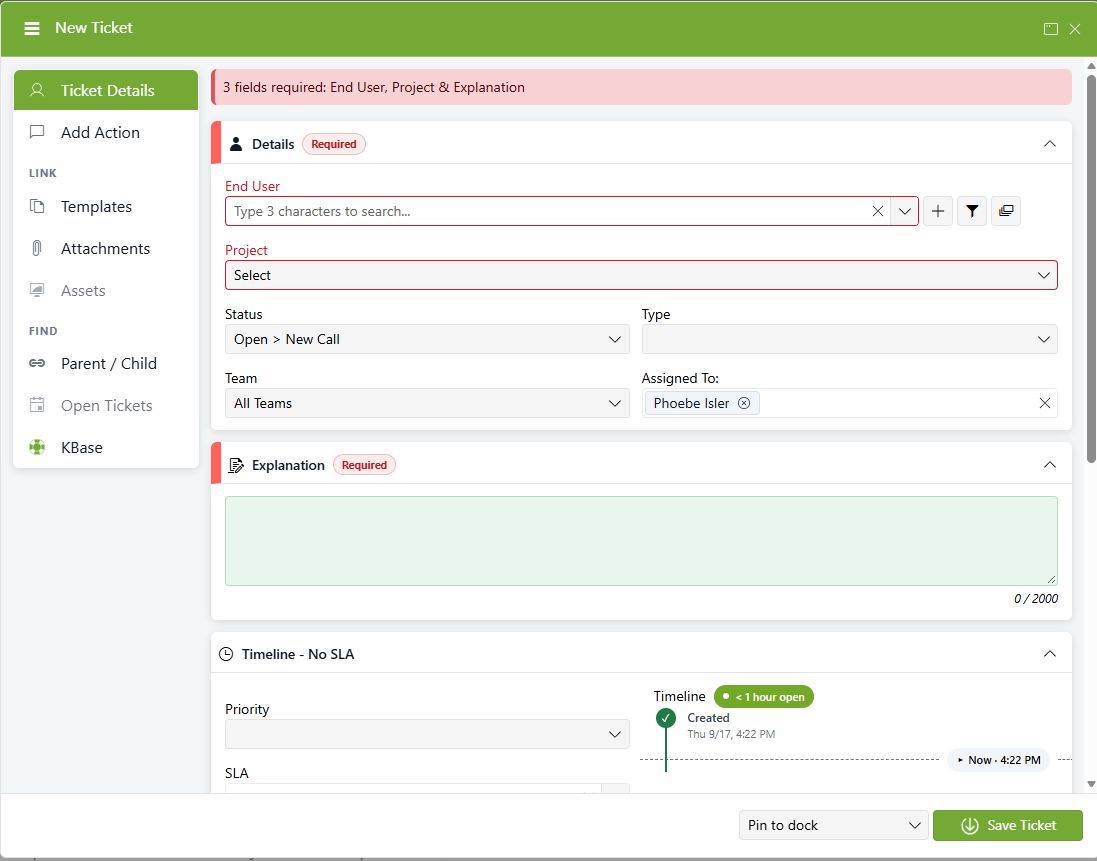
| Log a New Ticket - options collapsed | Log a New Ticket - options open |
 |
 |
NOTE: If Automatic Spell Checking is enabled, the Spelling button will not be visible.
Simply begin typing the name in the End User field on Log a Ticket and a list of matches from the database will appear. Select the appropriate match, and Revelation will auto-populate the information in the ticket.
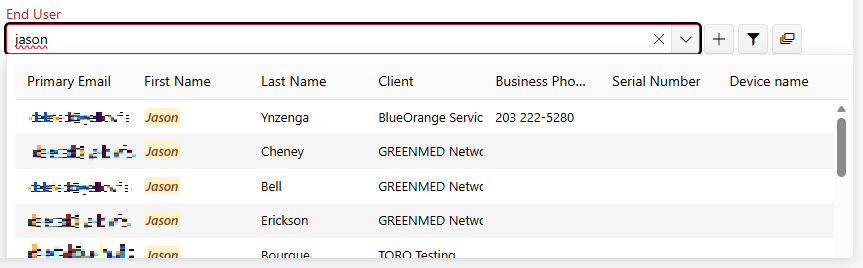
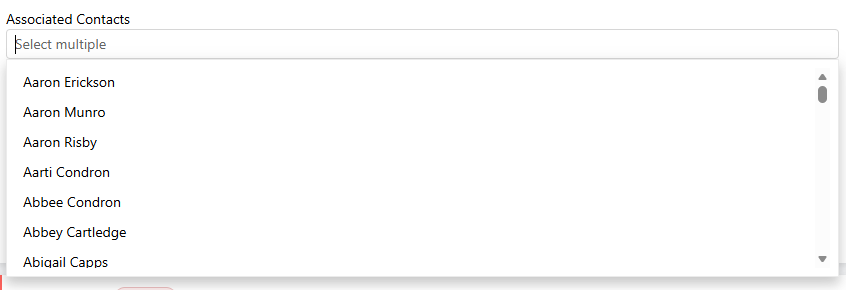
If Associated Contacts is active, there will be a secondary drop down where you will have the option to select additional users to add to the ticket. This field works the same way: begin typing a name, and Revelation will populate relevant results.
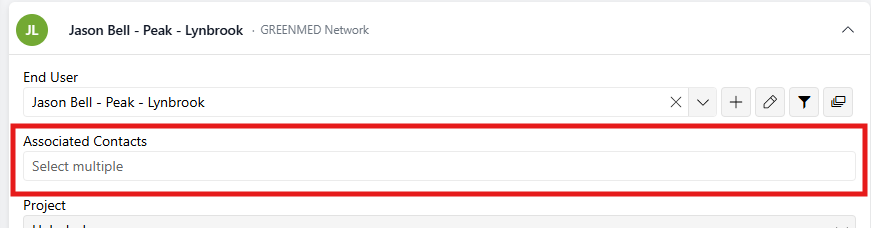
To log a ticket, only 3 fields are required: End User, Project, and Description.
| Field | Explanation |
|---|---|
| End User |
Allows ticket creator to type in the End User's name and select from the drop-down menu. Information specific to the End User will populate within the ticket once the End User is selected. |
| Project |
The Primary project related to the End User's organization will auto-populate the field. All other relevant projects are available via the drop-down menu. If the client has only one project, it will auto-populate the field.
|
| Description |
Fill in with a brief description of the issue ("Quote request", "Client called", "Staff cannot see server"). If a website needs to be included, type in the URL and it will automatically hyperlink to the site.
NOTE: There is a limit of 2,000 characters for the Ticket Description area. |
Once all three fields have been completed, the ticket can be logged. However, users can add more information to the ticket as needed using the available fields:
To log a ticket in Revelation helpdesk:
Click on the Log a Ticket button (second button) in the masthead area at the top of the page. This will bring up the New Ticket box:
If the pop-up is in your way, you can click and drag the window around on your Revelation screen. You can also re-size the pop-up by hovering over a corner and dragging the window to be larger or smaller. Revelation will re-size all ticket fields automatically to fit the resolution of your window.
NOTE: If Associated Contacts is active, there will be a secondary dropdown under the End User. From here, you will be able to select additional contacts from the client to add to the ticket.
NOTE: The Log a Ticket interface will follow the main Navigational color scheme. If enabled by the System Administrator, users can customize this using their Homepage settings. Otherwise, Administrators can change this in the System Options menu.
Any field outlined in red is a required field.
- End User*
- Project
- Description (shown above as "Explanation")
*If Client/End User Dropdowns is enabled in the Admin Area, the Client Name is required rather than the End User.
| Log a New Ticket - options collapsed | Log a New Ticket - options open |
|
|
NOTE: If Automatic Spell Checking is enabled, the Spelling button will not be visible.
Simply begin typing the name in the End User field on Log a Ticket and a list of matches from the database will appear. Select the appropriate match, and Revelation will auto-populate the information in the ticket.
If Associated Contacts is active, there will be a secondary drop down where you will have the option to select additional users to add to the ticket. This field works the same way: begin typing a name, and Revelation will populate relevant results.
To log a ticket, only 3 fields are required: End User, Project, and Description.
| Field | Explanation |
|---|---|
| End User |
Allows ticket creator to type in the End User's name and select from the drop-down menu. Information specific to the End User will populate within the ticket once the End User is selected. |
| Project |
The Primary project related to the End User's organization will auto-populate the field. All other relevant projects are available via the drop-down menu. If the client has only one project, it will auto-populate the field.
|
| Description |
Fill in with a brief description of the issue ("Quote request", "Client called", "Staff cannot see server"). If a website needs to be included, type in the URL and it will automatically hyperlink to the site.
NOTE: There is a limit of 2,000 characters for the Ticket Description area. |
Once all three fields have been completed, the ticket can be logged. However, users can add more information to the ticket as needed using the available fields:
| Client Type Filter | Select the Filter icon next to the End User selection field.
Select the Client Type from the drop-down menu. Multiple items can be selected and unselected. 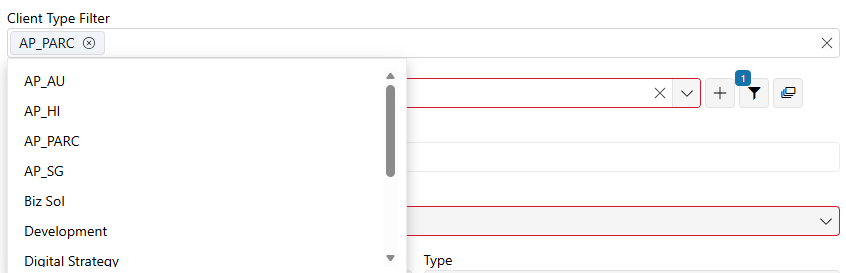 | ||
| Associated Contacts | Provides the ability to select additional End Users from the drop down. These users will also get the email notifications the primary End User receives and will be able to see the tickets they are associated with on their Self Service Interface page.
| ||
| Client | If End User is not the initial drop down option, select the appropriate client from the pull down. You will be able to type any portion of the client name in the client box, and a list of clients matching that text will appear in the drop down. | ||
| SLA | Beneath the Timeline heading. If Service Level Management is active, Multiple SLAs can be assigned to the project: the default SLA will be visible, and other options will be in the drop down. If not active, only the default SLA will be available. | ||
| Assigned To | By default, the ticket is automatically assigned to the person logging the ticket. This will show as the ticket creator's name in the field.
If the ticket is being assigned to someone other than the person logging the ticket, select the appropriate individual or group from the menu. If the ticket needs to be assigned to more than one individual or group, click all relevant assignees, and they will populate accordingly in the field. | ||
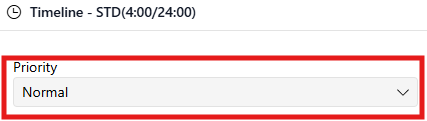
| Priority | Beneath the Timeline heading. "Priority" refers to the response time for responding to the ticket. This is set in the Admin area and can be part of a Priority Set specific to the client and/or project.
| ||
| Type/Sub Type | A ticket type and sub type are required prior to closing a ticket. 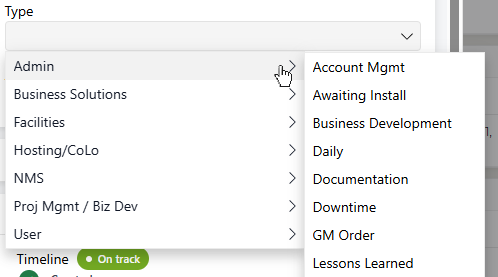 Note: If Ticket Types and Sub Types are disabled in the Admin area, this will not be visible. | ||
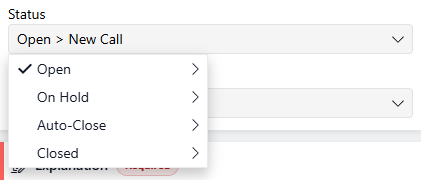
| Status | Based on the Ticket Status set up on the Admin Tab under Ticket Settings-Status.
| ||
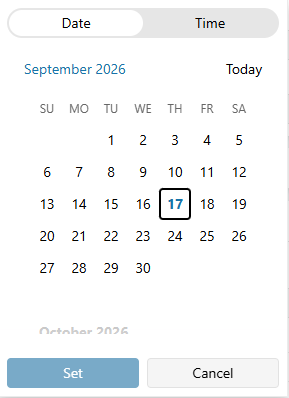
| Due | Beneath the Timeline heading. If an SLA is selected, the Due Date will automatically update. If you need to change the date, type in the new date or use the calendar button.
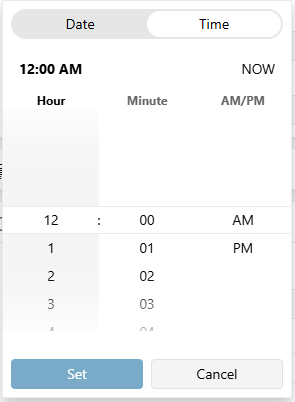
If the time needs to be changed, click on the Time header and choose the closest hour and minute, if necessary. | ||
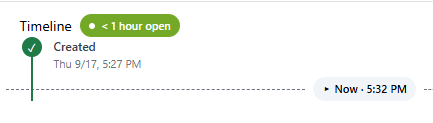
| Timeline | Beneath the Timeline heading. Gives a visual status of the milestones for a ticket based on the Service Level (SLA) assigned for the project, or if a manual due date is added.
| ||
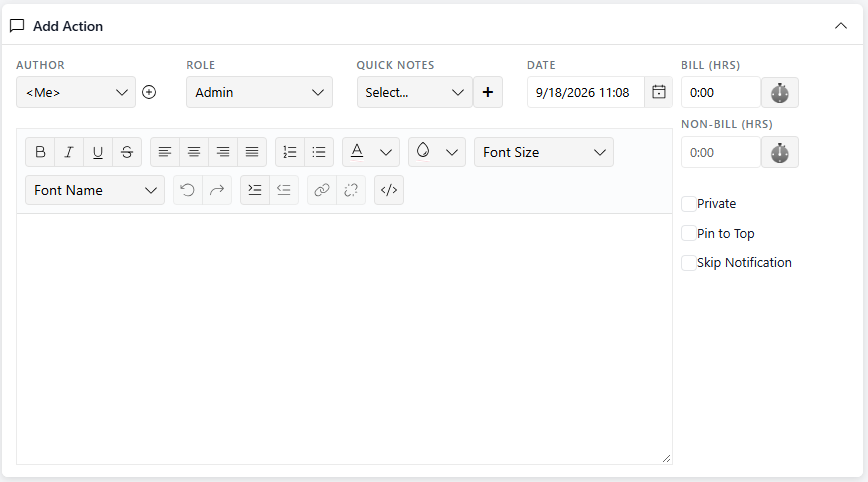
| Add Initial Action | Beneath the Add Action heading. Initial Ticket Action is a more detailed description of the problem and any initial diagnostics. Each action can have billable or non-billable time associated with the action, if this option is turned on. Default billable time is set to your company standard via Default Billable Time by Team in the Admin area, under Action Note Configuration.
NOTE: There is a limit of 1,000 characters for the Initial Action area NOTE: If you have Service Level Management activated, adding notes to the Initial Ticket Action field meets the Respond by date and time. If your help desk isn't supposed to alter Respond By times, this section MUST remain blank and be filled in by a technician to meet SLA requirements. If you don't use SLAs, the project has no SLA associated or you do not have the SLA module, this is not a factor and the fields are not required. NOTE: You can link to an existing ticket by including the ticket number, surrounded by double brackets. (i.e. [[123456]] will link to ticket 123456.) Core users do not have this feature available. | ||
| Author | In Add Action toolbar. <Me> is the default - this is the person logging the ticket. Different Authors can be selected from the drop down if you are logging the ticket for another end user.
| ||
| Quick Notes | In Add Action toolbar. Prewritten action notes available to Admins or Super Admins. If you are not authorized to add a Quick Note, this will not be visible.
If a Quick Note is not available, and you are authorized to add one, click on the + button to the right of the drop down to add a new Quick Note. | ||
| Date | In Add Action toolbar. Date and time the ticket is logged.
| Role | In Add Action toolbar. The default role for the user logging a ticket will appear in the drop-down menu.
If the user has more than one role or if the Author is changed, the appropriate role can be selected from the drop-down. |
| Billable/Non-Billable Time | In Add Action toolbar. Log time against projects, either billable (will deplete any time assigned to project) or non-billable (will not deplete any time assigned to project). 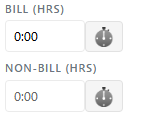 "Real" time is used in Revelation rather than decimal time; 1:30 is 1 hour 30 minutes, not 1 hour 18 minutes. However, time can be entered in either format. If 1.5 is entered, it will revert to 1:30. | ||
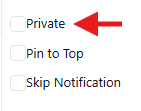
| Private | If checked, the information in the Action Note will not be visible to the client either on the Self Service Interface or when sent a report.
| ||
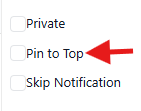
| Pin to Top | If checked, the Action Note being created will be visible as the first action in the ticket regardless of actions logged after it. Only one Action Note can be pinned at any time.
| ||
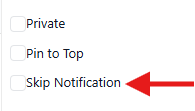
| Skip Notification | If checked, any notifications tied to the assigned projects will not go out.
| ||
| Log Options Drop-Down | Select the option or options from the drop down. Revelation will remember your last selection for the next new ticket you log.
|


In addition to the above information available on the Ticket Details screen, there is a menu on the left side of the new ticket window that offers more options for users logging a new ticket:
| Add Action | This is a shortcut to the Add Action field at the bottom of the New Ticket window - selecting it will scroll down to the Add Action textbox. |
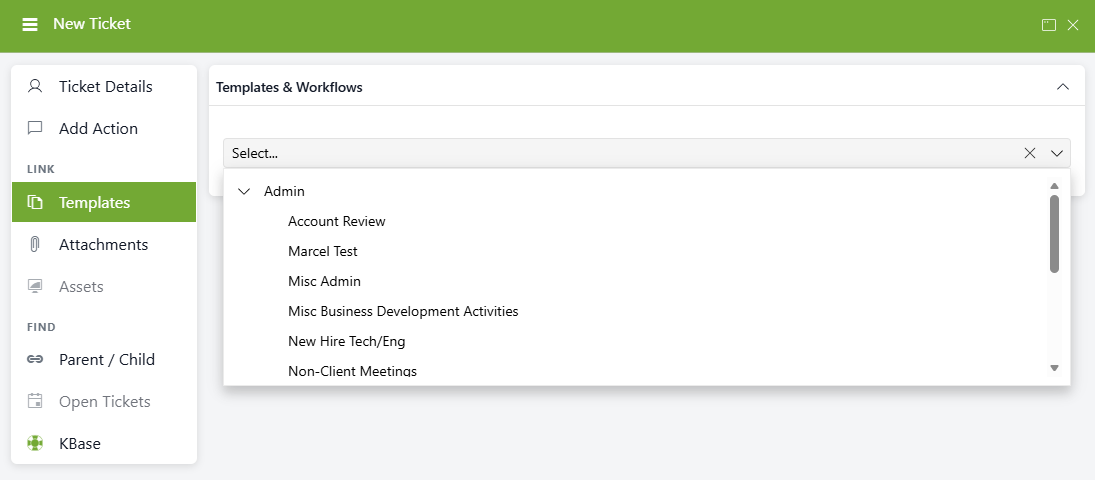
| Templates | To apply a ticket template to your new ticket, select an available template from the drop-down menu. NOTE: Once a template is selected and the ticket is created, it cannot be overwritten. NOTE: Ticket templates must be configured by your System Administrator.
|
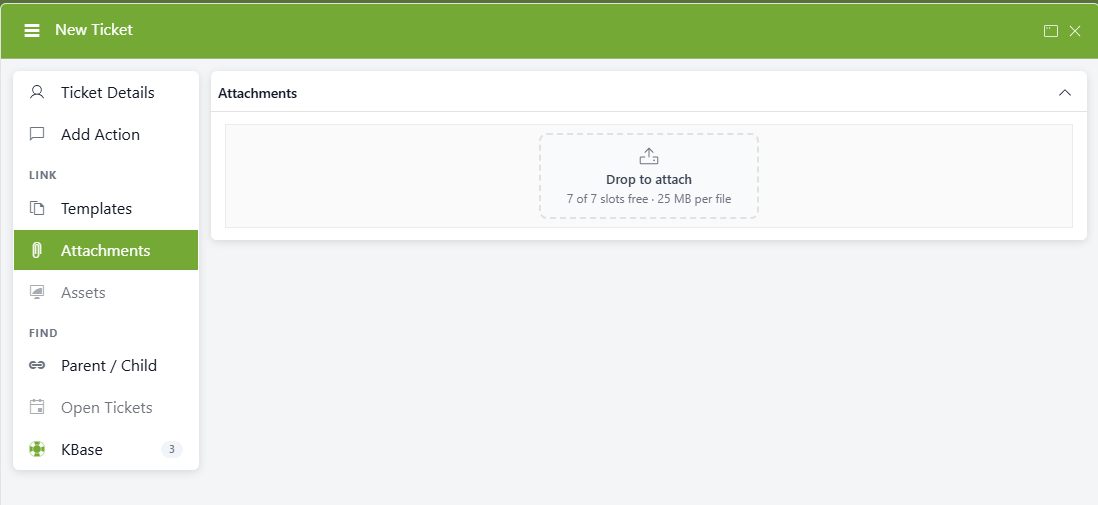
| Attachments | You can upload up to 7 attachments at a time to a new ticket.
|
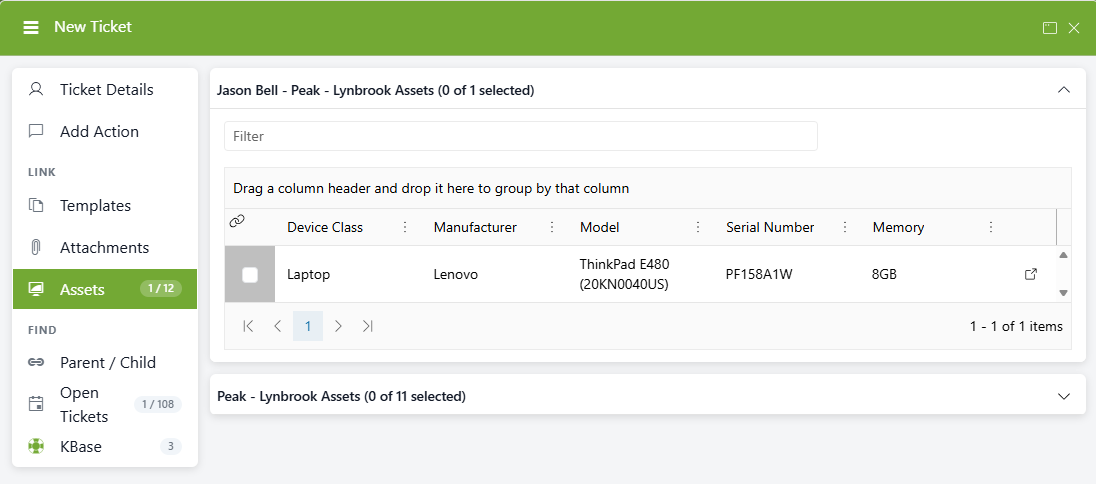
| Assets | If a ticket is related to an asset being tracked, select the available asset. You can choose from assets assigned to the End User OR assets assigned to the associated office.
|
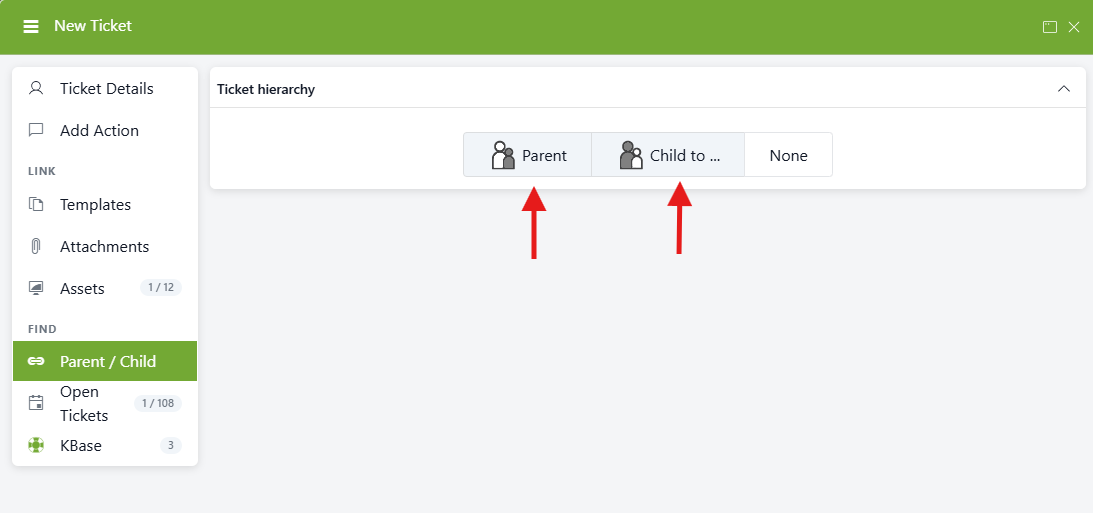
| Parent/Child | If the ticket is to be a Parent ticket, or the Child to an existing Parent ticket, select the Parent/Child tab and click the appropriate button. For Child tickets, you must select which Parent ticket will be associated with your ticket.
|
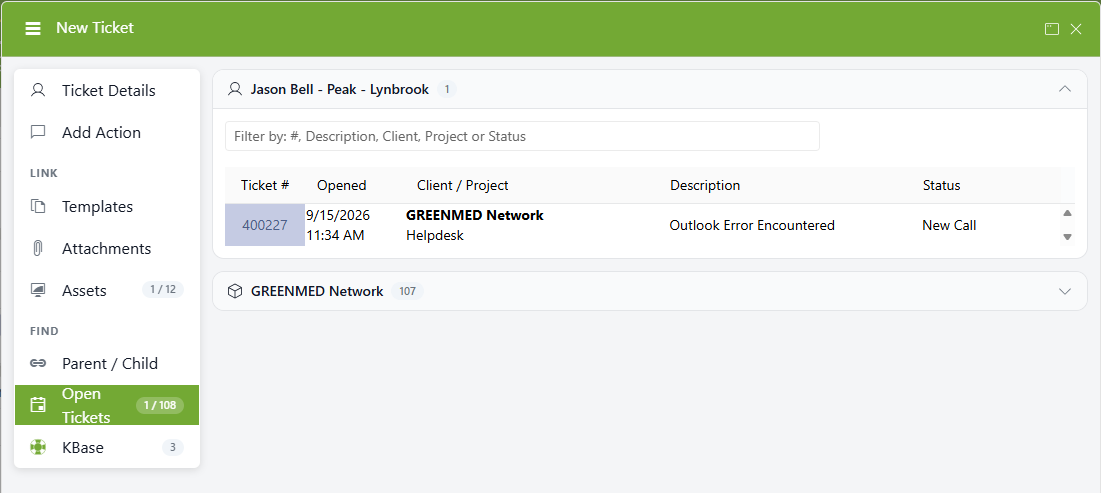
| Open Tickets | Based on the End User selected, Revelation will show you how many tickets that End User currently has open, as well as how many total tickets the client has open.
|
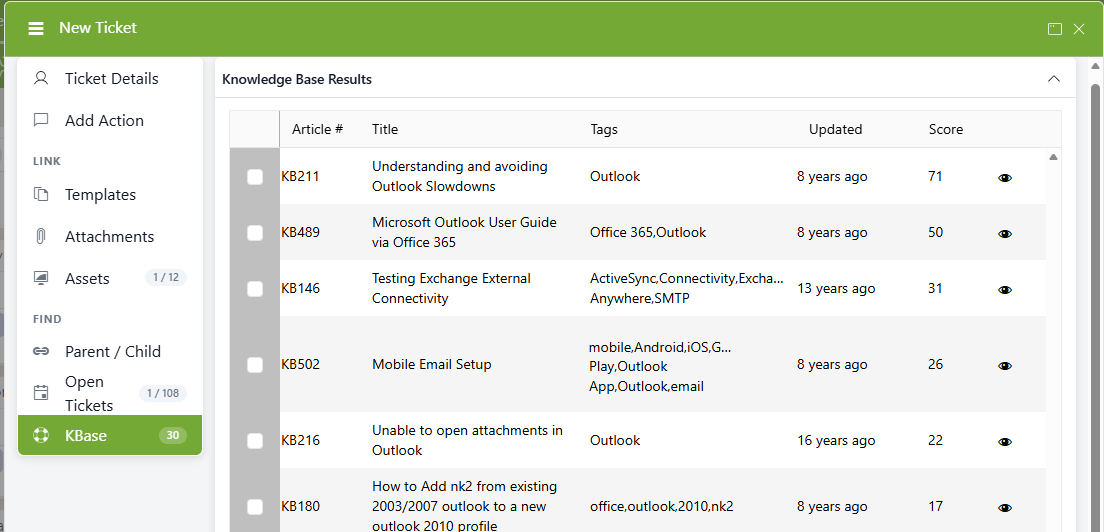
| KBase | If there are Knowledge Base articles relating to the ticket's description, Revelation will populate them in the KBase tab. To attach an article, click the checkbox next to the article number.
|
Once all the necessary information is completed for logging a ticket, click on Log at the bottom right of the screen. This will keep the ticket in an opened status unless otherwise specified. If the ticket is assigned to you or a group you are a member of, the ticket will appear on your home page.