
Logging a Gameplan ticket is similar to logging a standard ticket. You will use the Workstream to set the due date, etc.
- Click on the New Ticket icon in the main navigation area.
- Select the appropriate project from the drop down.
- If the project is a Gameplan project, Revelation will automatically replace the Timeline field with the Workstream field.
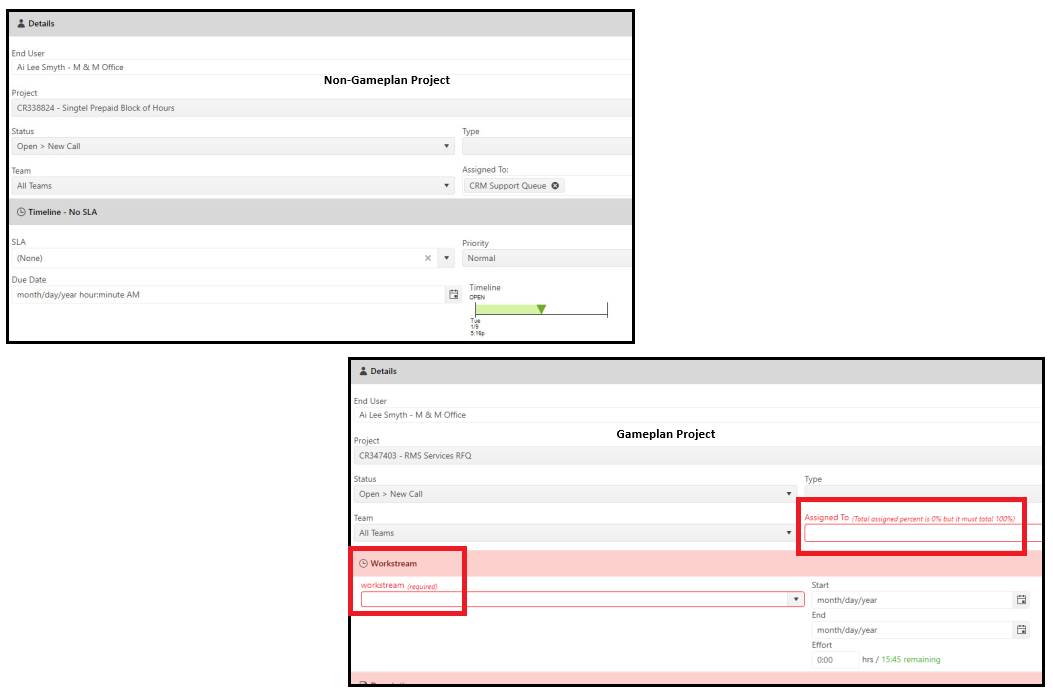
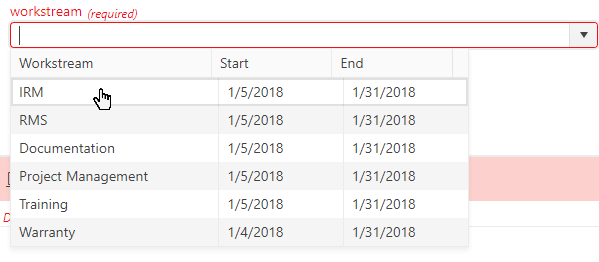
- Select the appropriate Workstream from the drop-down menu.
- Select the team and assign staff from the Assign To drop-down. Revelation will automatically populate all members of the assigned team.
- Tick the check box for the appropriate individuals. Include the percentage of time you wish to allocate the resource to the project.
Note: The percentage must add up to 100%: Revelation will not allow you to log the ticket otherwise.

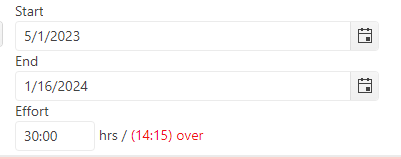
- Enter the Start and End dates, as well as the Effort (number of hours allocated to complete the task)
- If the project is over the allocated time from the initial set up, the time remaining will show in red.
- Enter a Description of the task
- Click Log to save the ticket.
NOTE: You cannot log a Parent/Child ticket in Gameplan.
Gameplan tickets show the Allocation breakdown for each assigned staff member in the top left corner of the window, and a progress bar across the top. Bars will change color with the ticket status (green for new, blue for current, yellow for at risk, red for late)
