To Create View
To Move Columns
Adjust Column Size
Delete a View
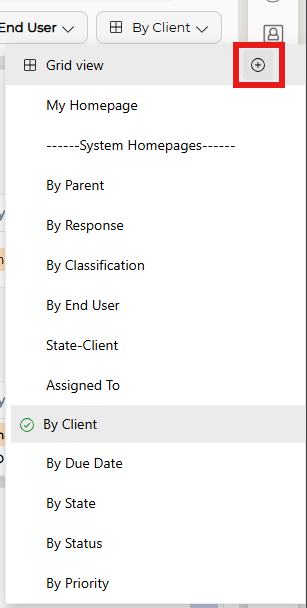
If enabled by the Administrator, the Grid View + button will appear at the top of the drop-down, allowing staff to make their own views.
To Create a New View
|
|
|
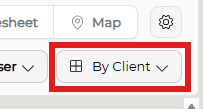
Open the View selection drop-down button.
|
|
| Select the + button next to the Grid view heading to create a new view |
|
Select the column and group fields you want. NOTE: There is no limit to the number of columns and groups you can select, but keep in mind that the more data selected, the more crowded your custom view will become. | 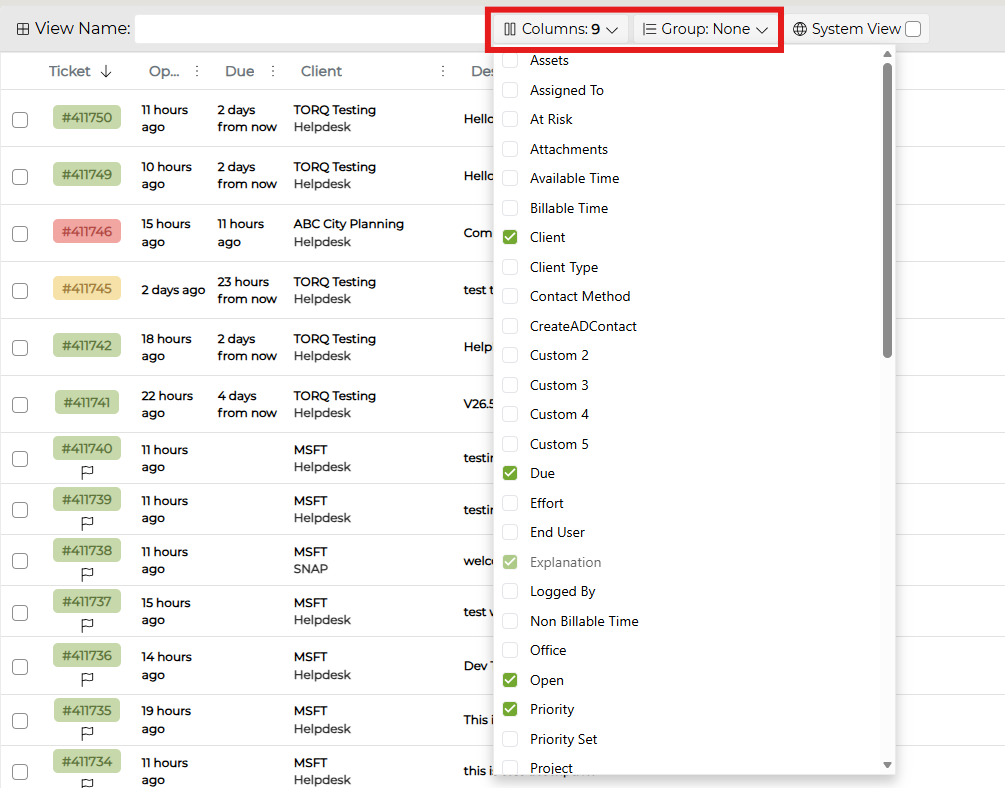
|
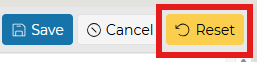
To reset the screen to the default "New View" settings, click the Reset button.
| 
|
|
Once all fields have been configured as desired, give your view name and click Save.
NOTE: If you want your new custom view to be the default System View, click the System View checkbox to override the current System View.
|

|
|
To Move Columns
|
|
|
Click and drag the column you would like to move to the preferred location. When you begin to move the column, you will see a box representing said column.
You will see a black arrow appear - this is the column placement indicator. Once the arrow is in the position you wish the column to be, drop the column header in place.
Repeat this for as many columns as you wish to reorganize.
|


|
Adjust Column Size
|
|
|
Hover between columns until the adjustment arrow appears. Drag to adjust width.
|

|
Delete a View
|
|
|
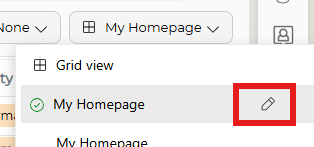
Open the Grid view drop-down, hover over your custom view, and click the edit pencil.
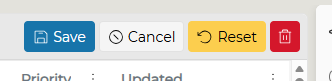
From the editing options on the right side, click the red Delete button.
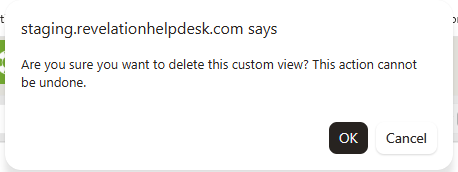
Click OK to confirm you wish to delete the custom view.
|
|
