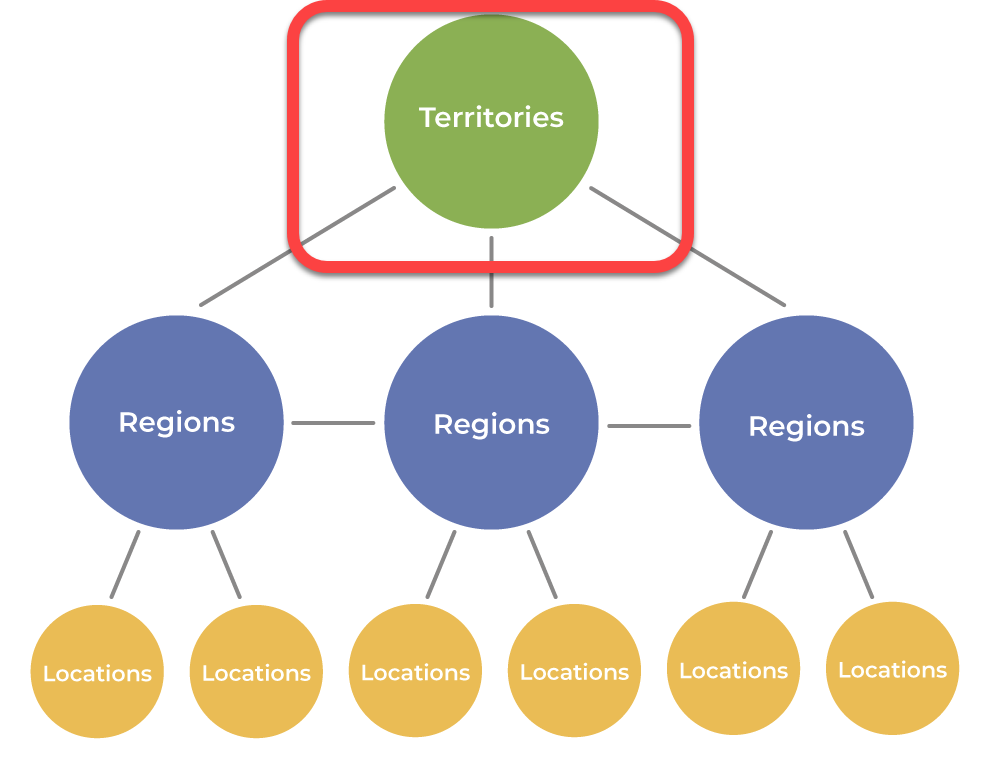
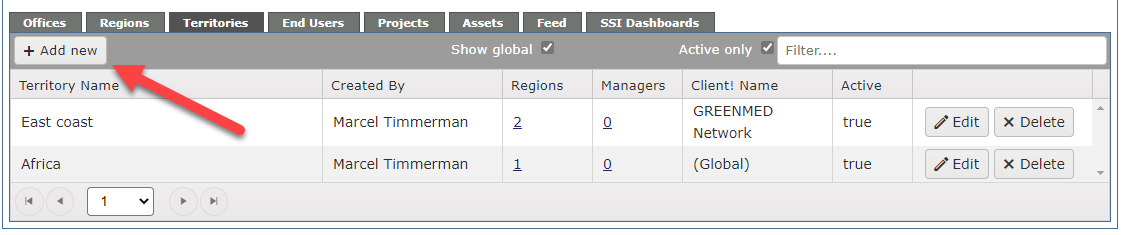
- Click on the Add new button at the top left of the Configure window (grey bar).
-
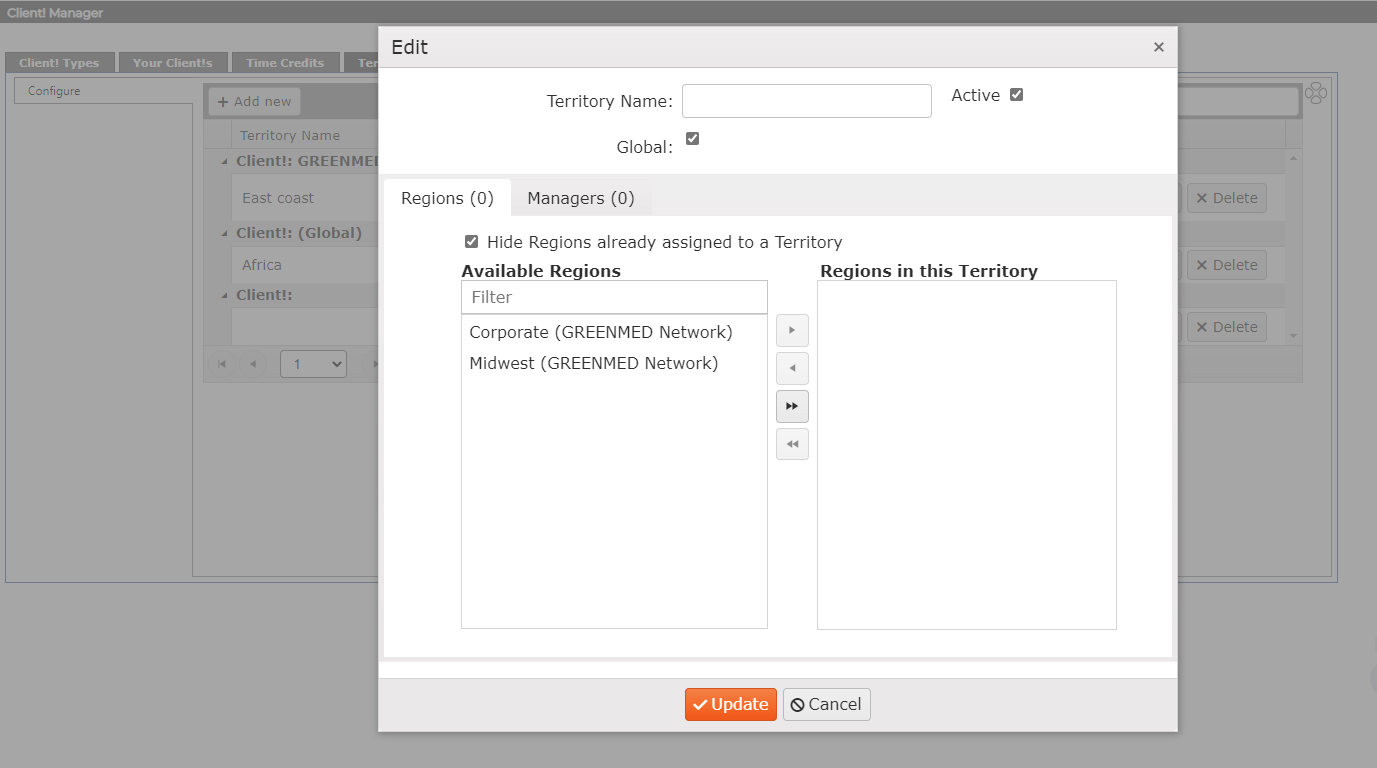
Key in the new Territory name
-
You can either chose to make this Territory Active, or uncheck the box to make the territory inactive
-
-
-
Global is selected by default. By unchecking the Global option, you can select specific individual clients for this territory to be applied to. Note: A client is required for non global territories
-
-
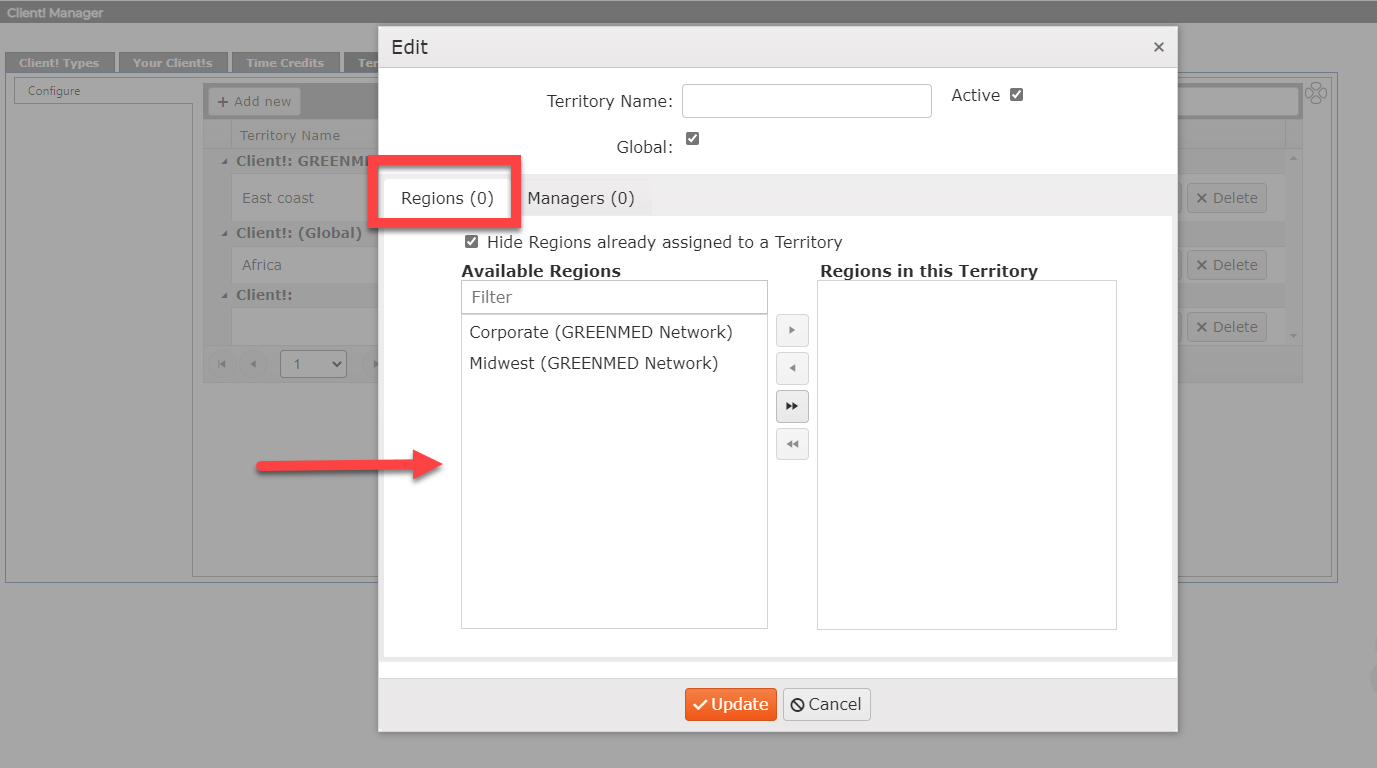
You can select the Available Regions by selecting the region, and adding it using the arrows to the newly created Territory. You may overlap regions in multiple territories for more ticket transparency.
-
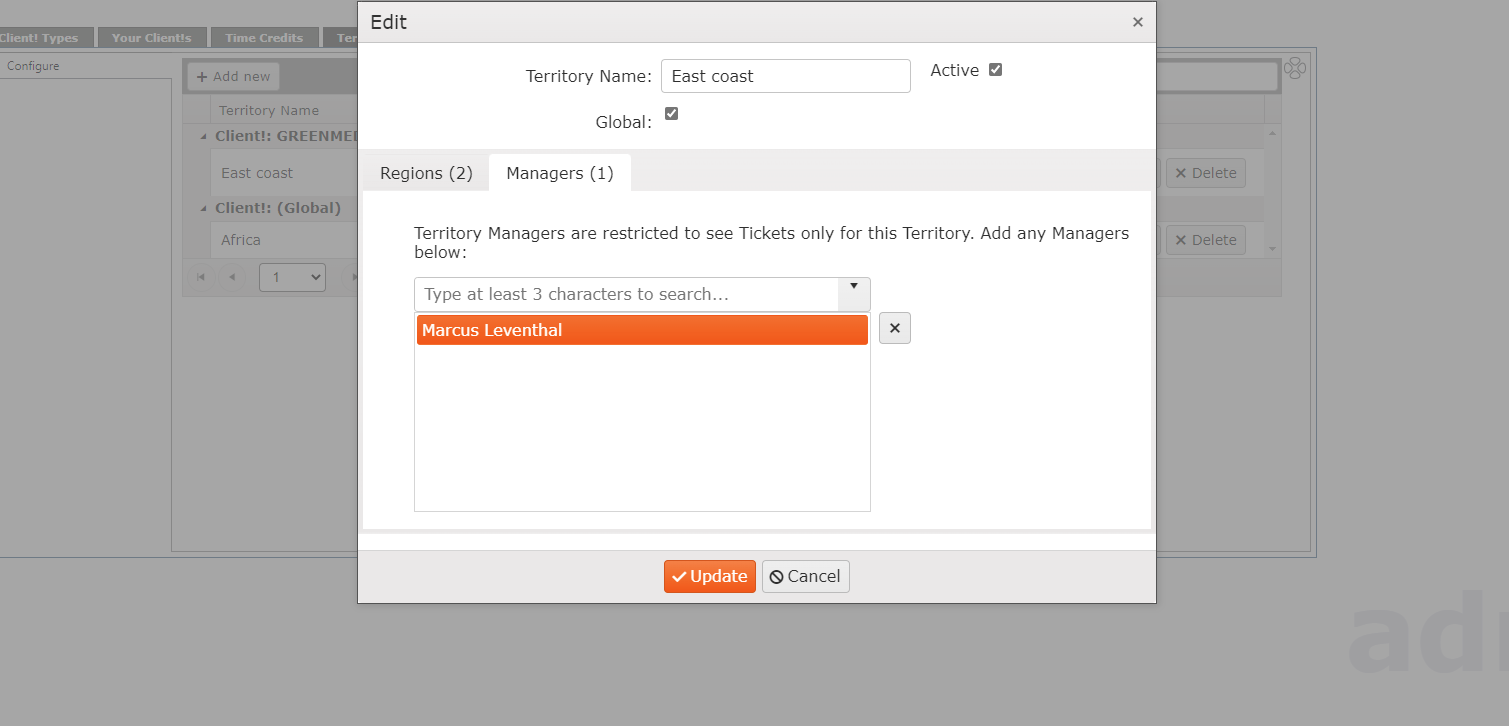
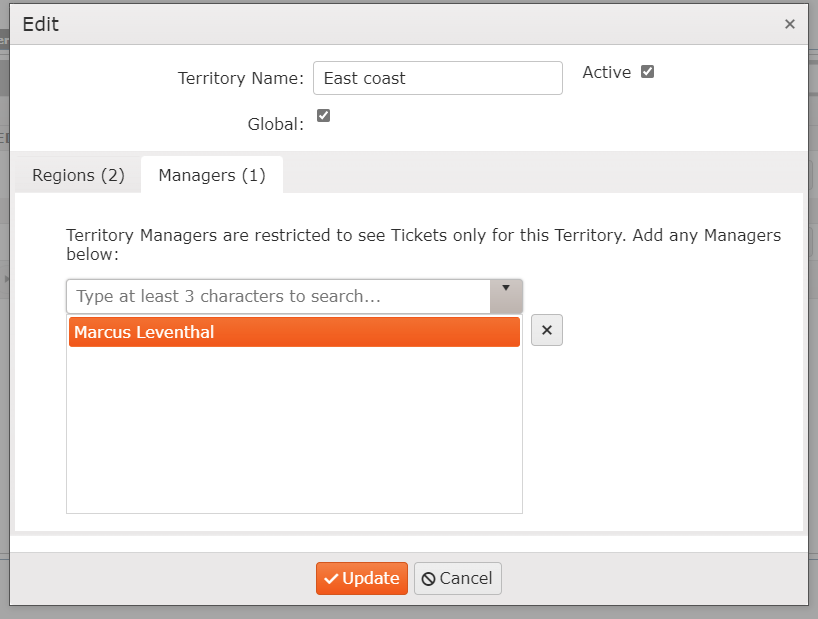
By selecting the Managers tab, you will be able to either key in a territory manager to for this territory, or begin typing to search for any Managers you'd wish to add; followed by selecting Update.
-
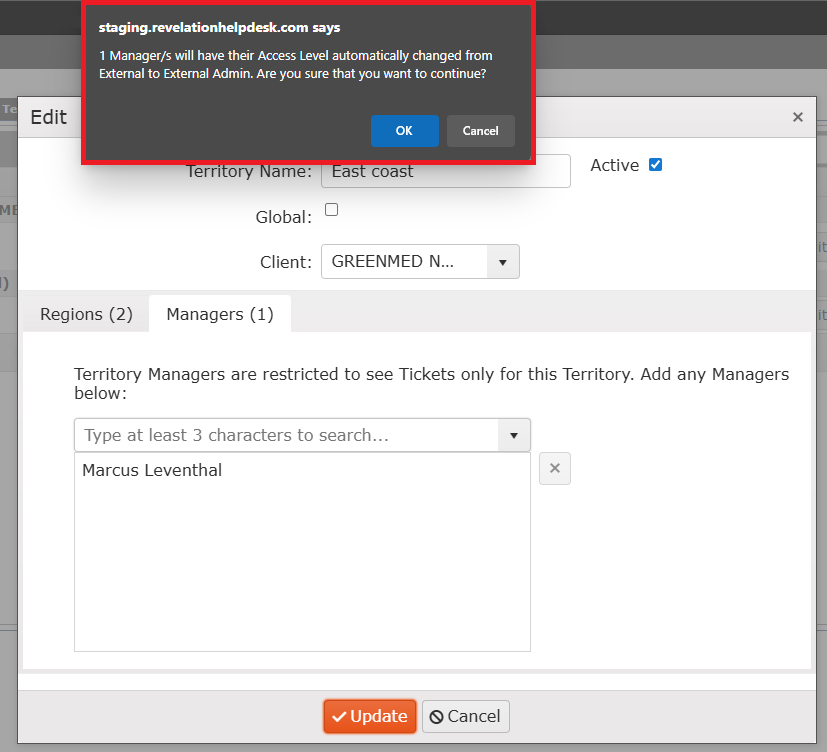
Note: When adding a Territory Manager, you will be alerted that the user's access will change if their role isn't already configured for Manager or other roles permitted. Select OK to allow this Access
Edit a Territory
-
Click on the pencil icon (Edit) to the right of the available territories
- Similar to the Add New Territory, a window entitled Edit will appear
-
Make your changes and click Update to keep changes, or the Cancel button if you don't wish to keep the changes.